How to Install BMW E90 Coilovers: A Complete DIY Guide
In this guide, I’ll walk you through how to install BMW E90 coilovers, specifically the BC Racing BR series, on my BMW 335i. If you’re looking to enhance your ride quality and get rid of that ugly wheel gap, you’ve found the right blog post!
Why coilovers vs. lowering springs?
Coilovers are a popular upgrade for BMW enthusiasts looking to improve handling and adjust ride height. With coilovers, you can lower your car for a more aggressive stance while also having the ability to adjust the damping settings for a comfortable ride or a stiff performance setup.
When it comes to the BMW E9X 3 series, installing coilovers can significantly improve your driving experience. The stock suspension is “meh”, especially when it comes to cornering and overall performance. By learning how to install BMW E90 coilovers, you not only improve your 3 series’ aesthetics but also its feel on the road.
Unboxing my BC Racing Coilovers
Upon unboxing your coilovers, you’ll find everything you need to get started on the installation. A coilover kit typically includes front struts with adjustable camber plates, rear shocks, springs, adjustable tie rods, and sway bar end links. You’ll also receive a set of adjustable wrenches for height adjustments, which is a handy addition for fine-tuning your setup.
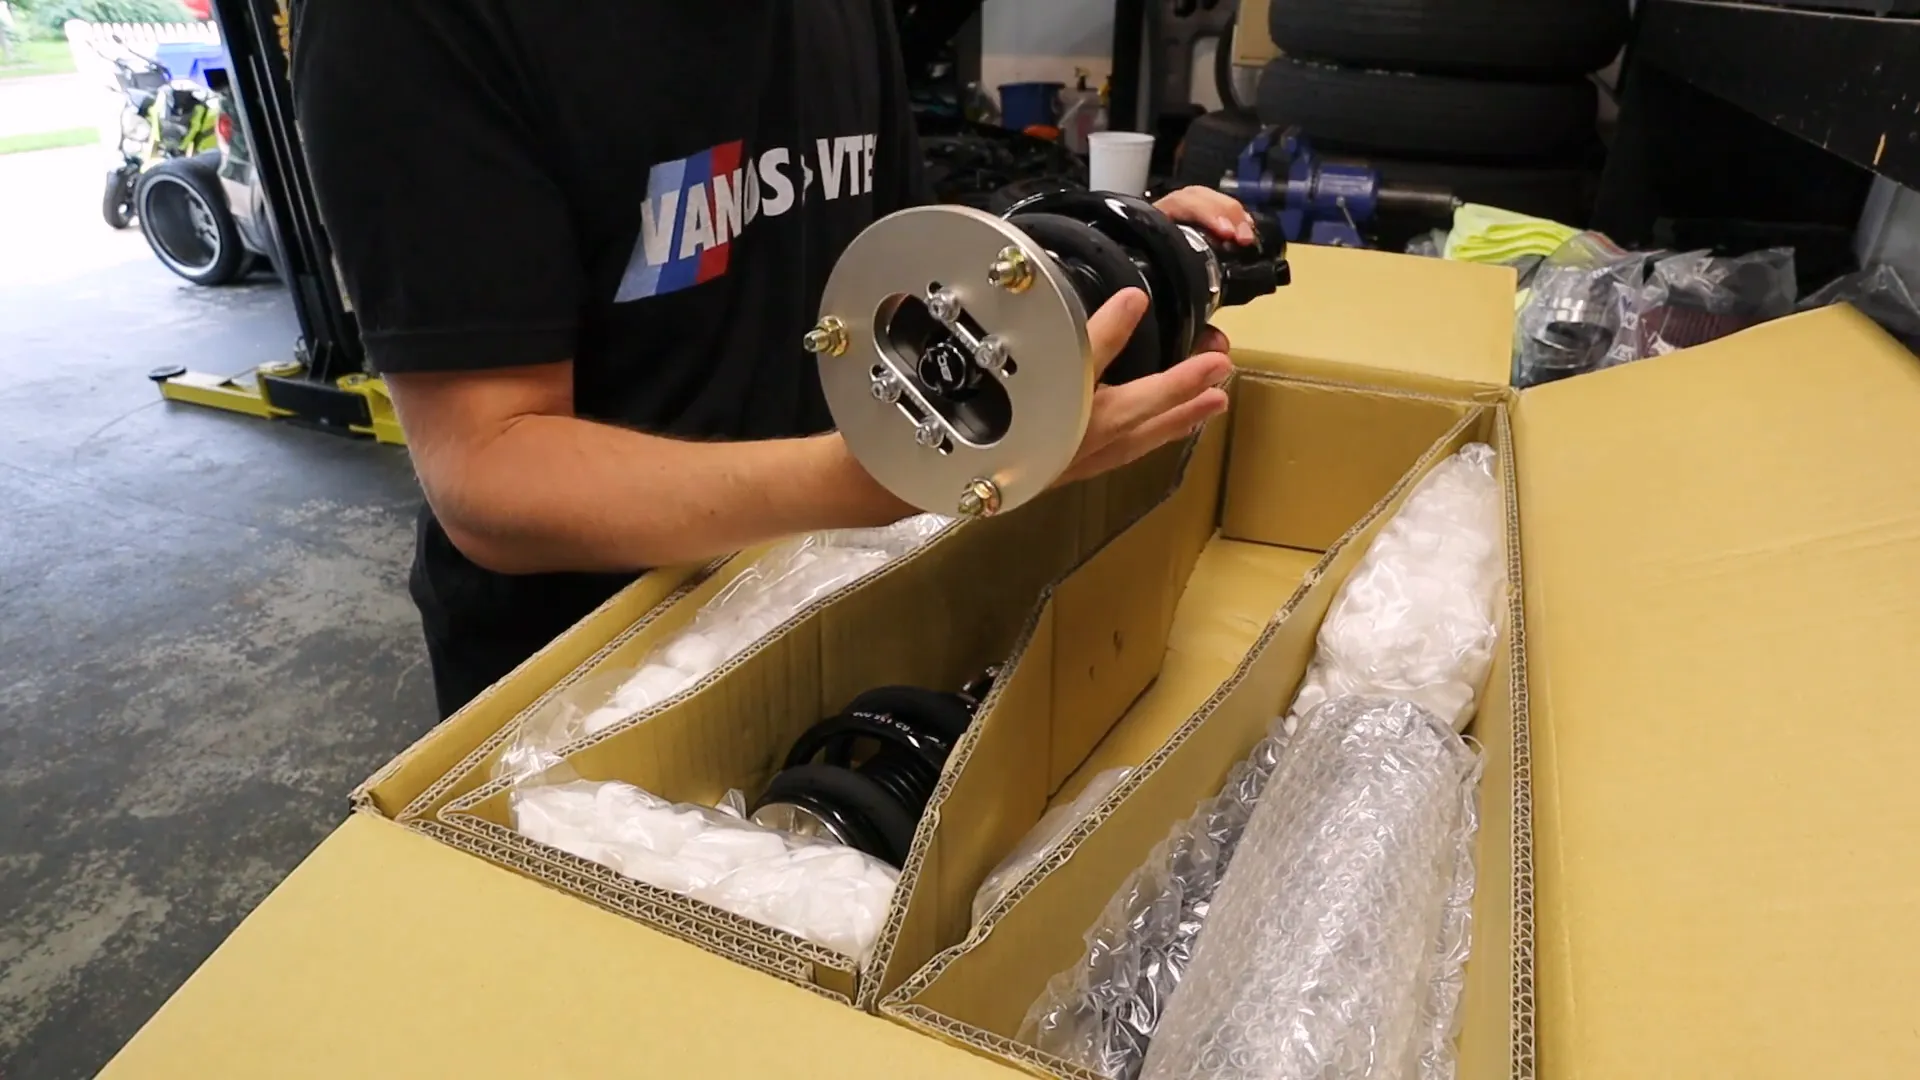
One of the standout features of BC Racing coilovers is their pre-set preload, allowing for immediate installation without the need for initial adjustments. The adjustable damping settings give you the flexibility to customize your ride quality based on your driving preferences. Whether you’re daily driving or hitting the track, these coilovers can handle it all.
Tools You Will Need for the Installation
Before diving into the installation, it’s essential to gather all the necessary tools. Here’s a concise list of what you’ll need:
- Strut spreader tool
- Socket set (including 10mm to 21mm sockets)
- Wrenches (both standard and adjustable)
- E-torx star socket set
- Impact gun or ratchet
- Torque wrench
- Spring compressor (also available for rent at auto parts stores)
- Plastic pry tools for interior trunk trim removal
Having the right tools on hand will make the installation process smoother and more efficient. If you’re missing any tools, consider borrowing or renting them to avoid delays.
Parts to Upgrade at the Same Time
While you’re in there, I highly recommend replacing the following parts since they’re low-cost and easy to swap out at the same time.
Removing the Old Suspension
Start the removal process by lifting the car and securely placing it on jack stands. Begin with the front suspension by removing the sway bar end link and the bolts securing the strut. It’s important to keep track of all the nuts and bolts you remove, as you’ll need them for reinstallation.
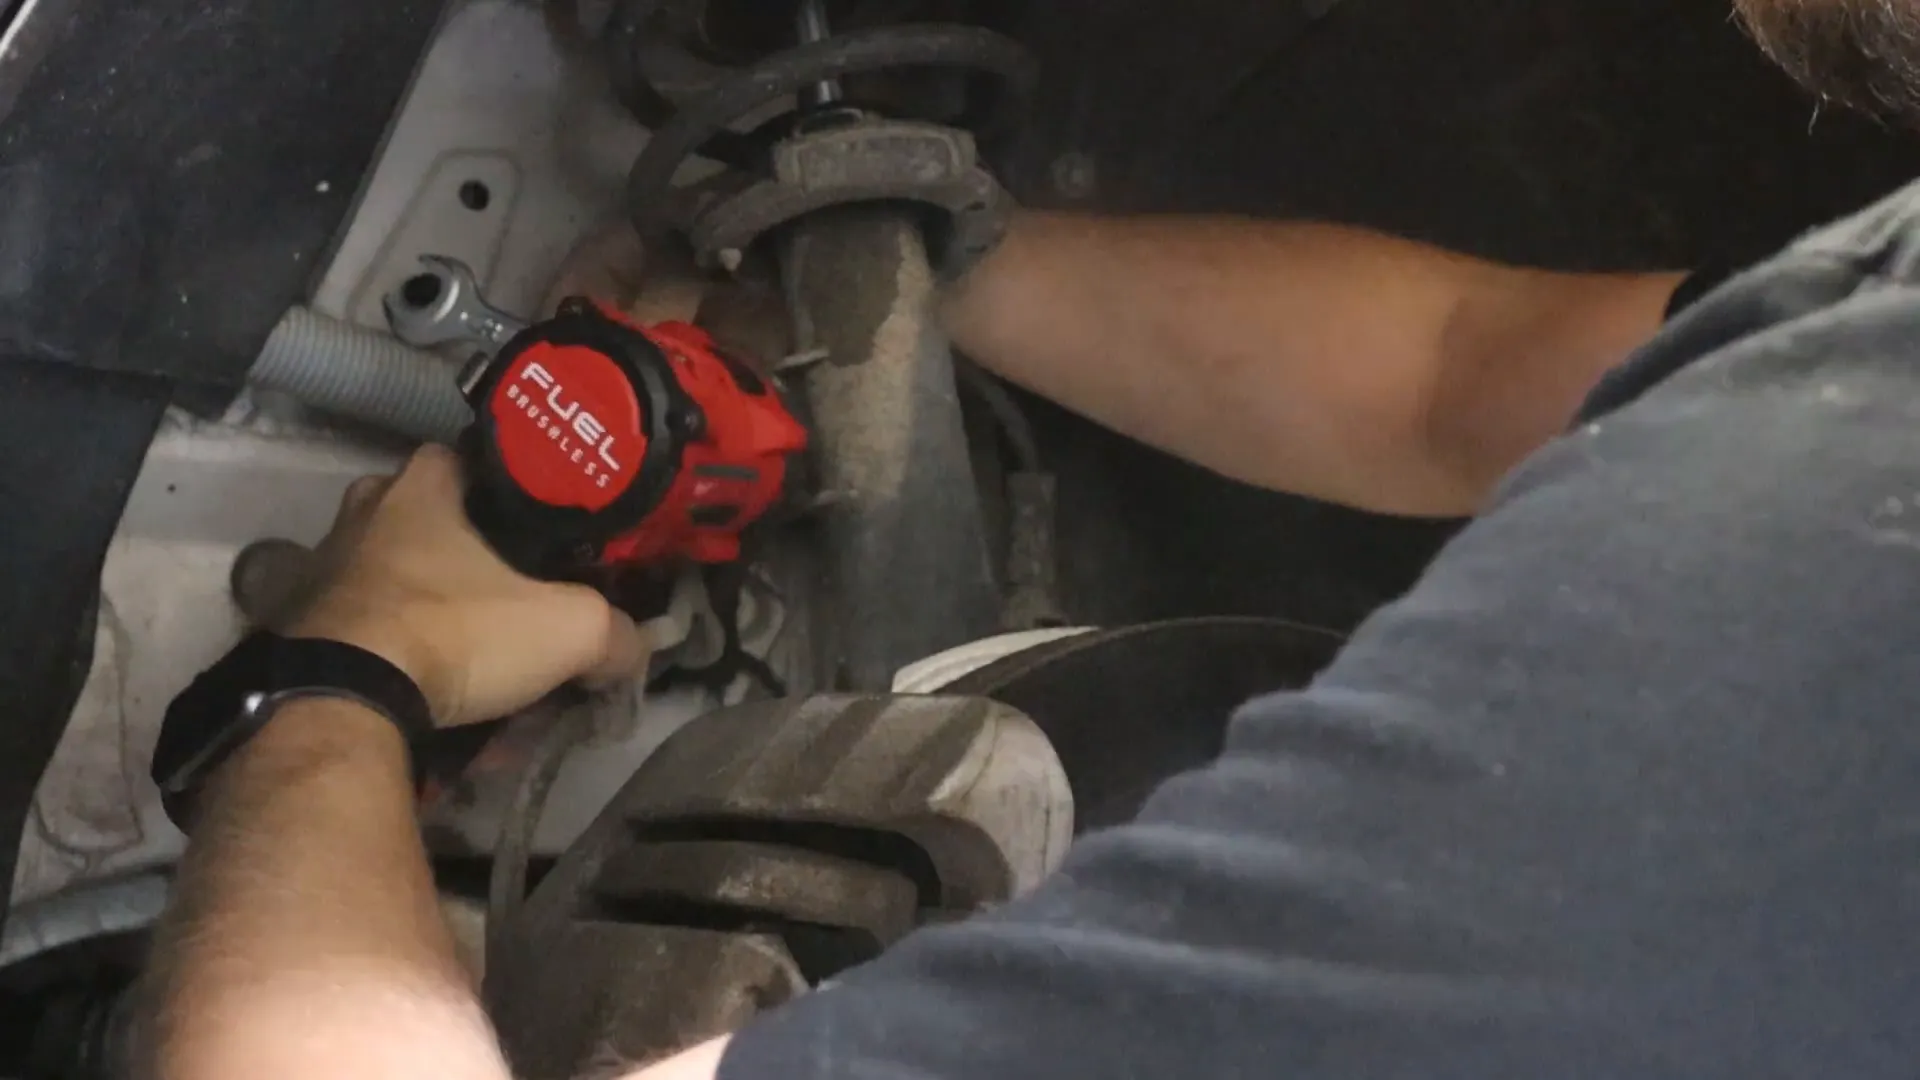
Once the strut is free from the top and bottom, use the spring compressor to relieve tension from the spring before removing it. This step is crucial to prevent injury and ensure a safe removal process. If you struggle with getting the strut out, a strut spreader tool can help by widening the strut clamp, making it easier to pull the strut out.
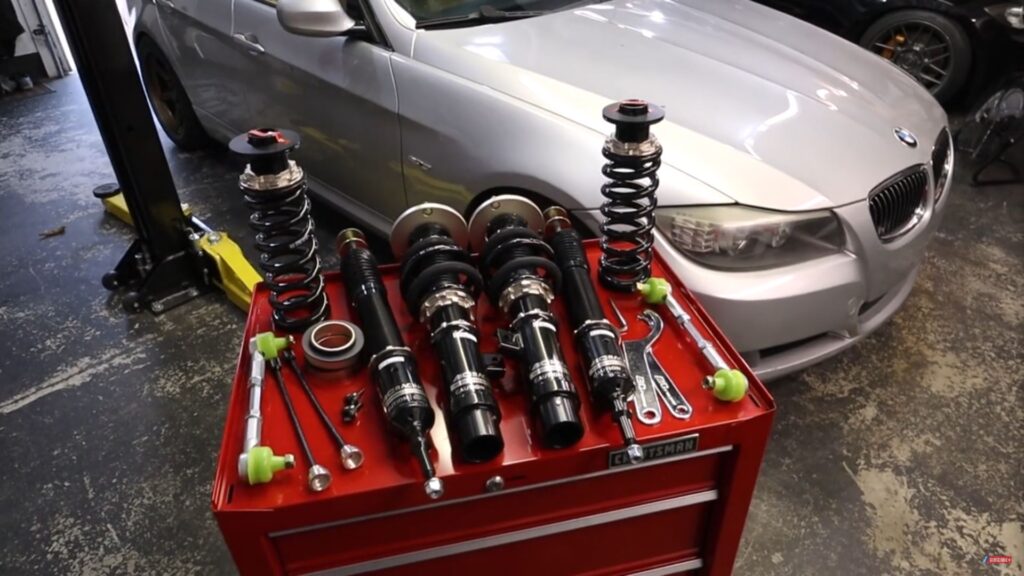
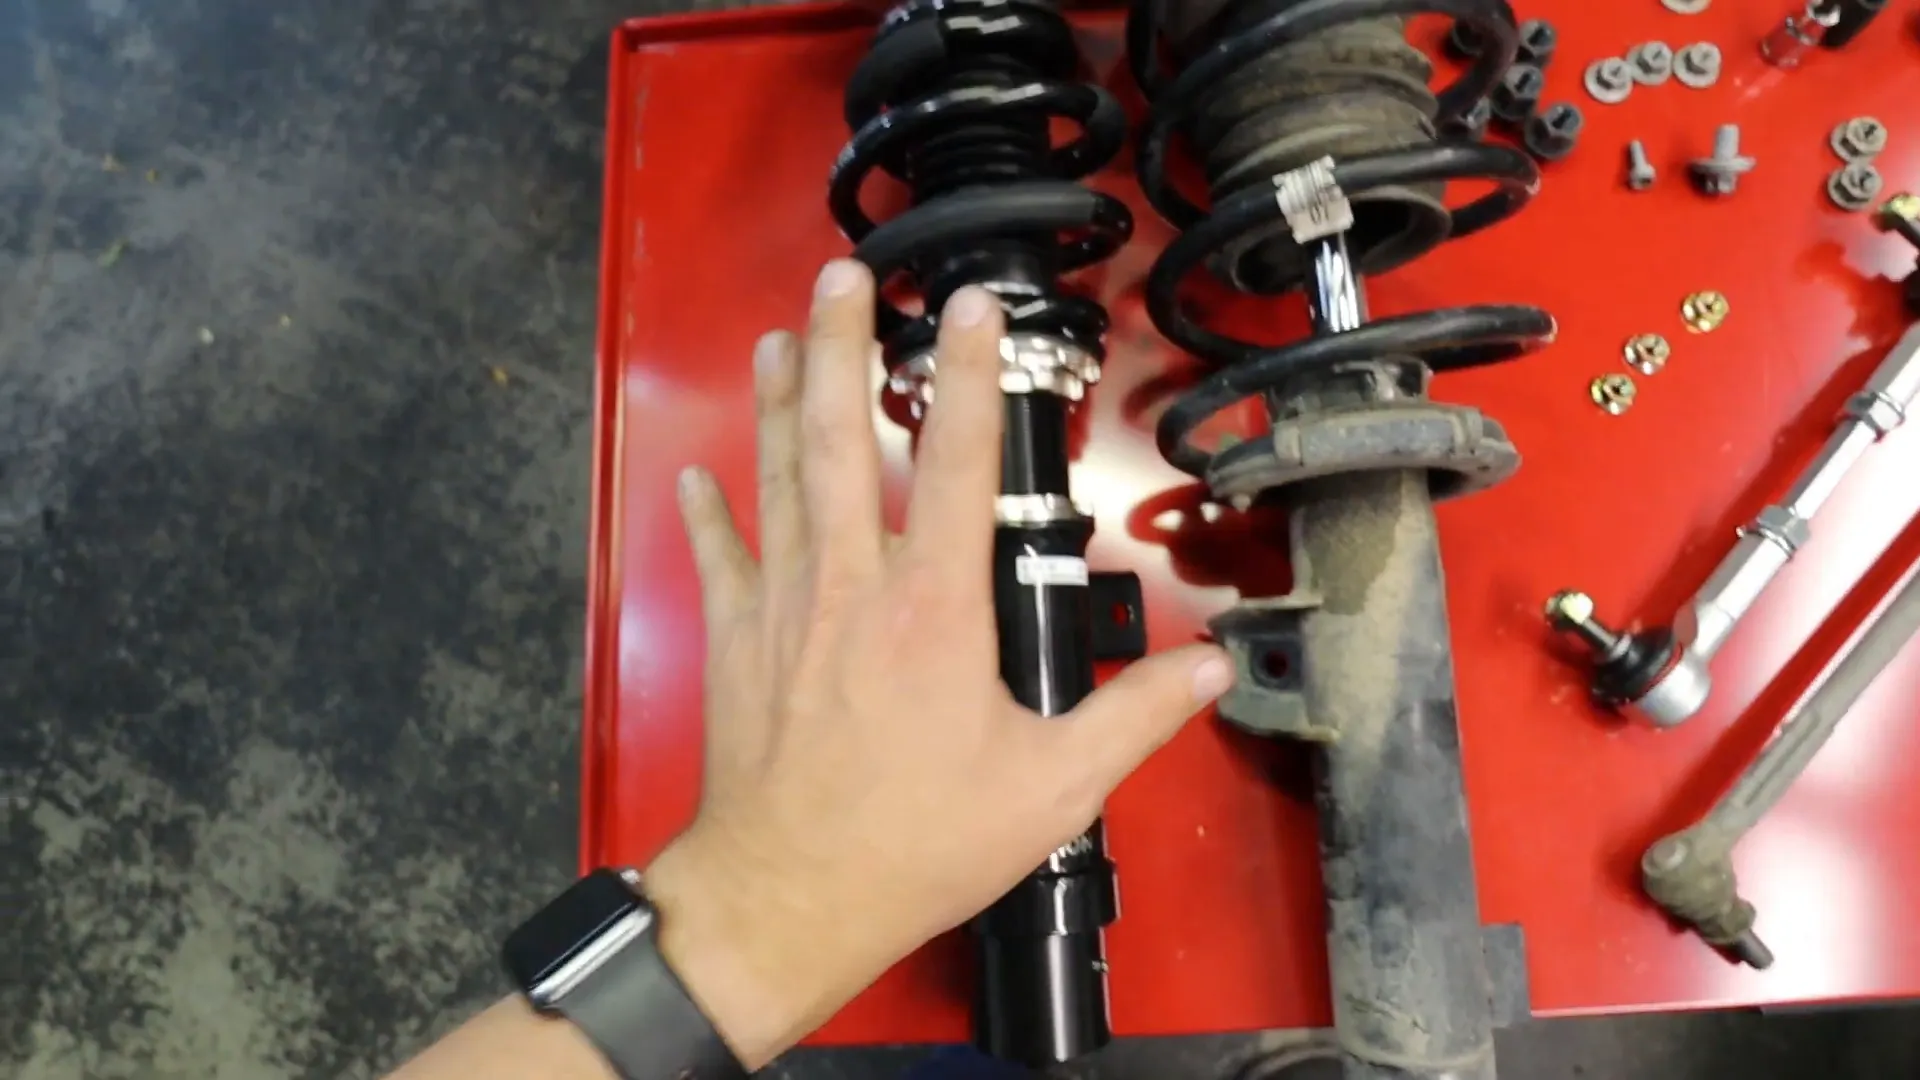
After successfully removing the old struts, take a moment to compare them with the new BC Racing coilovers. You’ll notice how much more compact and adjustable the coilovers are, which is a significant upgrade over the stock units.
Comparing Stock Struts to BC Coilovers
The difference between stock struts and BC Racing coilovers is striking. The stock struts are often longer with a considerable amount of dead space, while the BC coilovers are designed to maximize performance and adjustability. This compact design allows for a lower ride height without compromising on suspension travel.
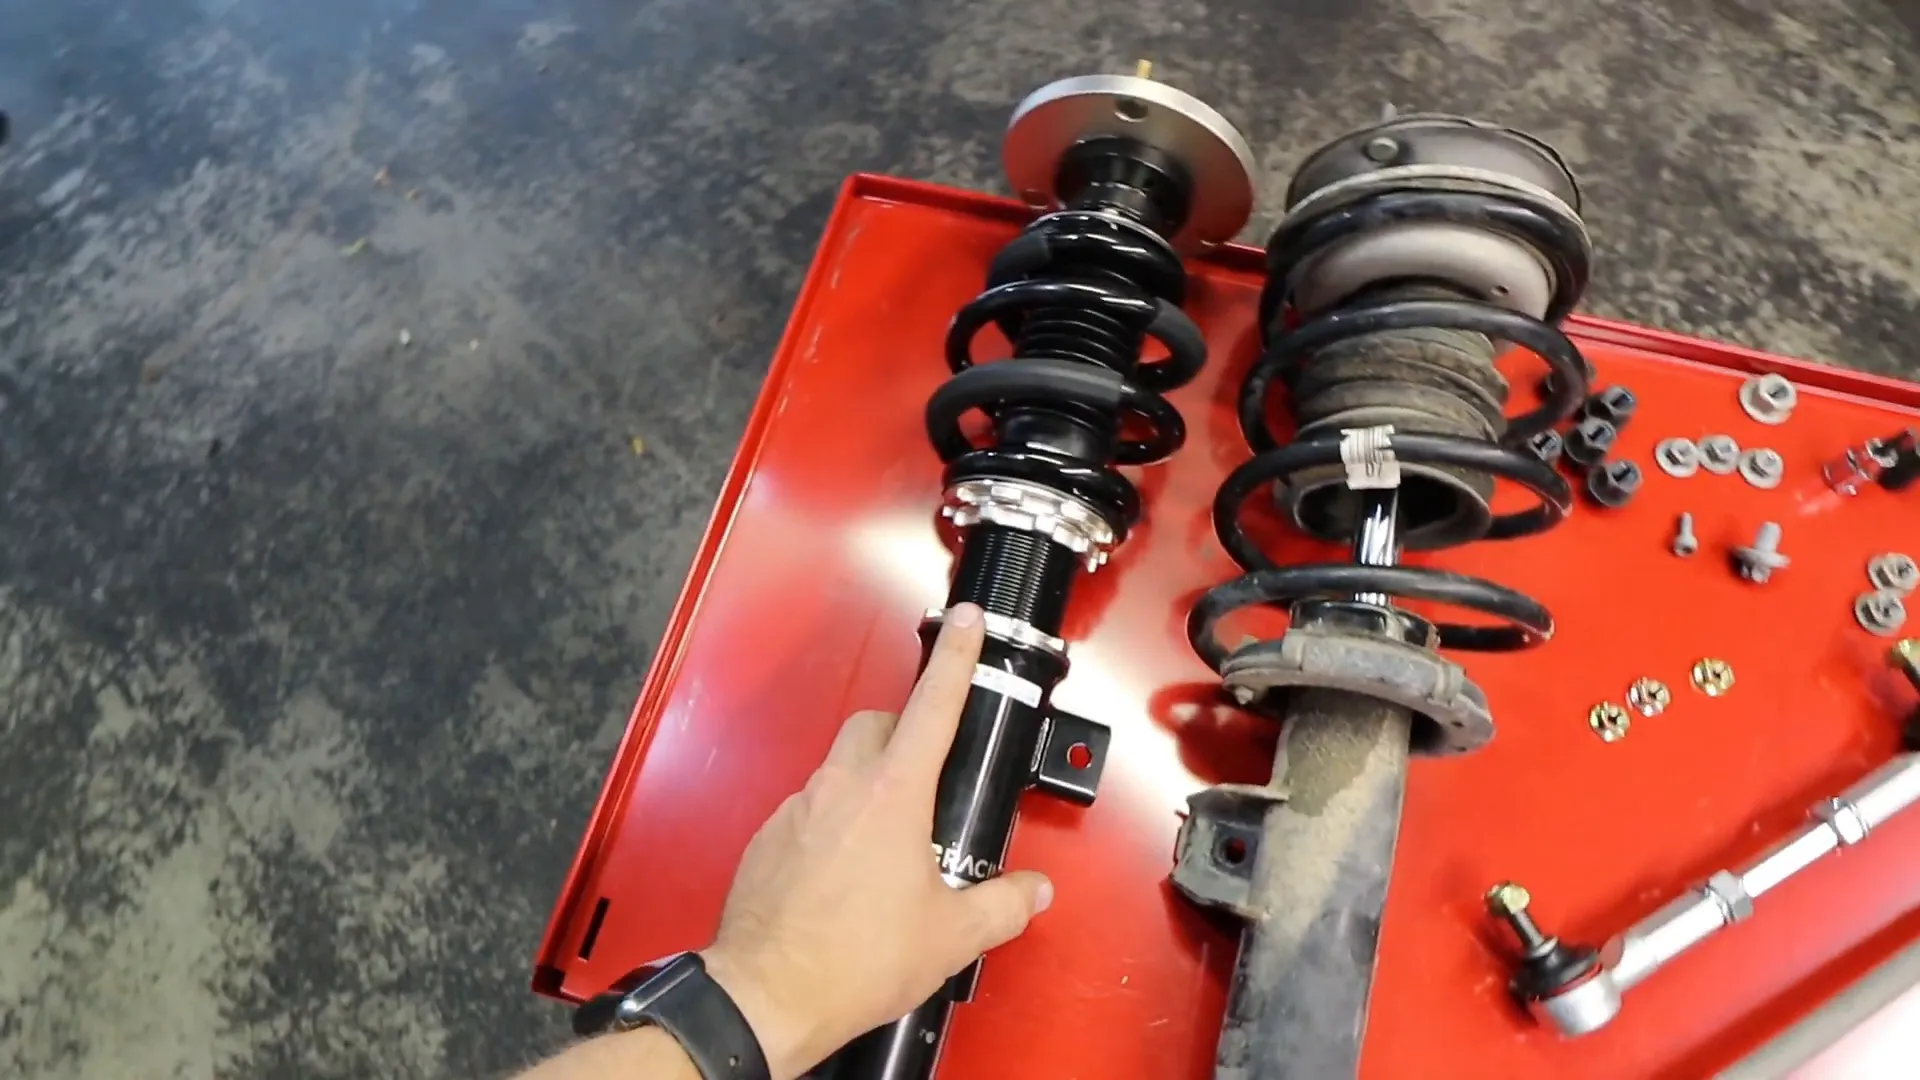
Another critical aspect to consider is the sway bar end links. The BC Racing kit comes with adjustable end links, which allow you to fine-tune the suspension setup according to your vehicle’s specific needs. This feature can help eliminate body roll and improve overall handling when cornering.
With the old suspension removed and the new coilovers ready for installation, you’re well on your way to transforming your BMW E90!
Installing the New Coilovers
Now that we’ve prepped everything, it’s time to dive into the installation of the new BC Racing coilovers. Start with the front struts. Ensure that you have the right assembly labeled correctly—this is crucial to avoid any mix-ups during installation.
Begin by inserting the new BC coilover into the fender well. Align the strut with the three holes on the strut tower. Hand-tighten the nuts to hold it in place temporarily. This allows you to make adjustments before securing everything down.
Next, it’s important to reinstall the sway bar end link. Ensure it’s snug but not overly tight at this stage. This will help you adjust it later without hassle.
After everything looks good, go back and tighten the three nuts on top of the strut tower securely. This is essential for ensuring that the coilover is properly seated.
Installing the Rear Coilovers
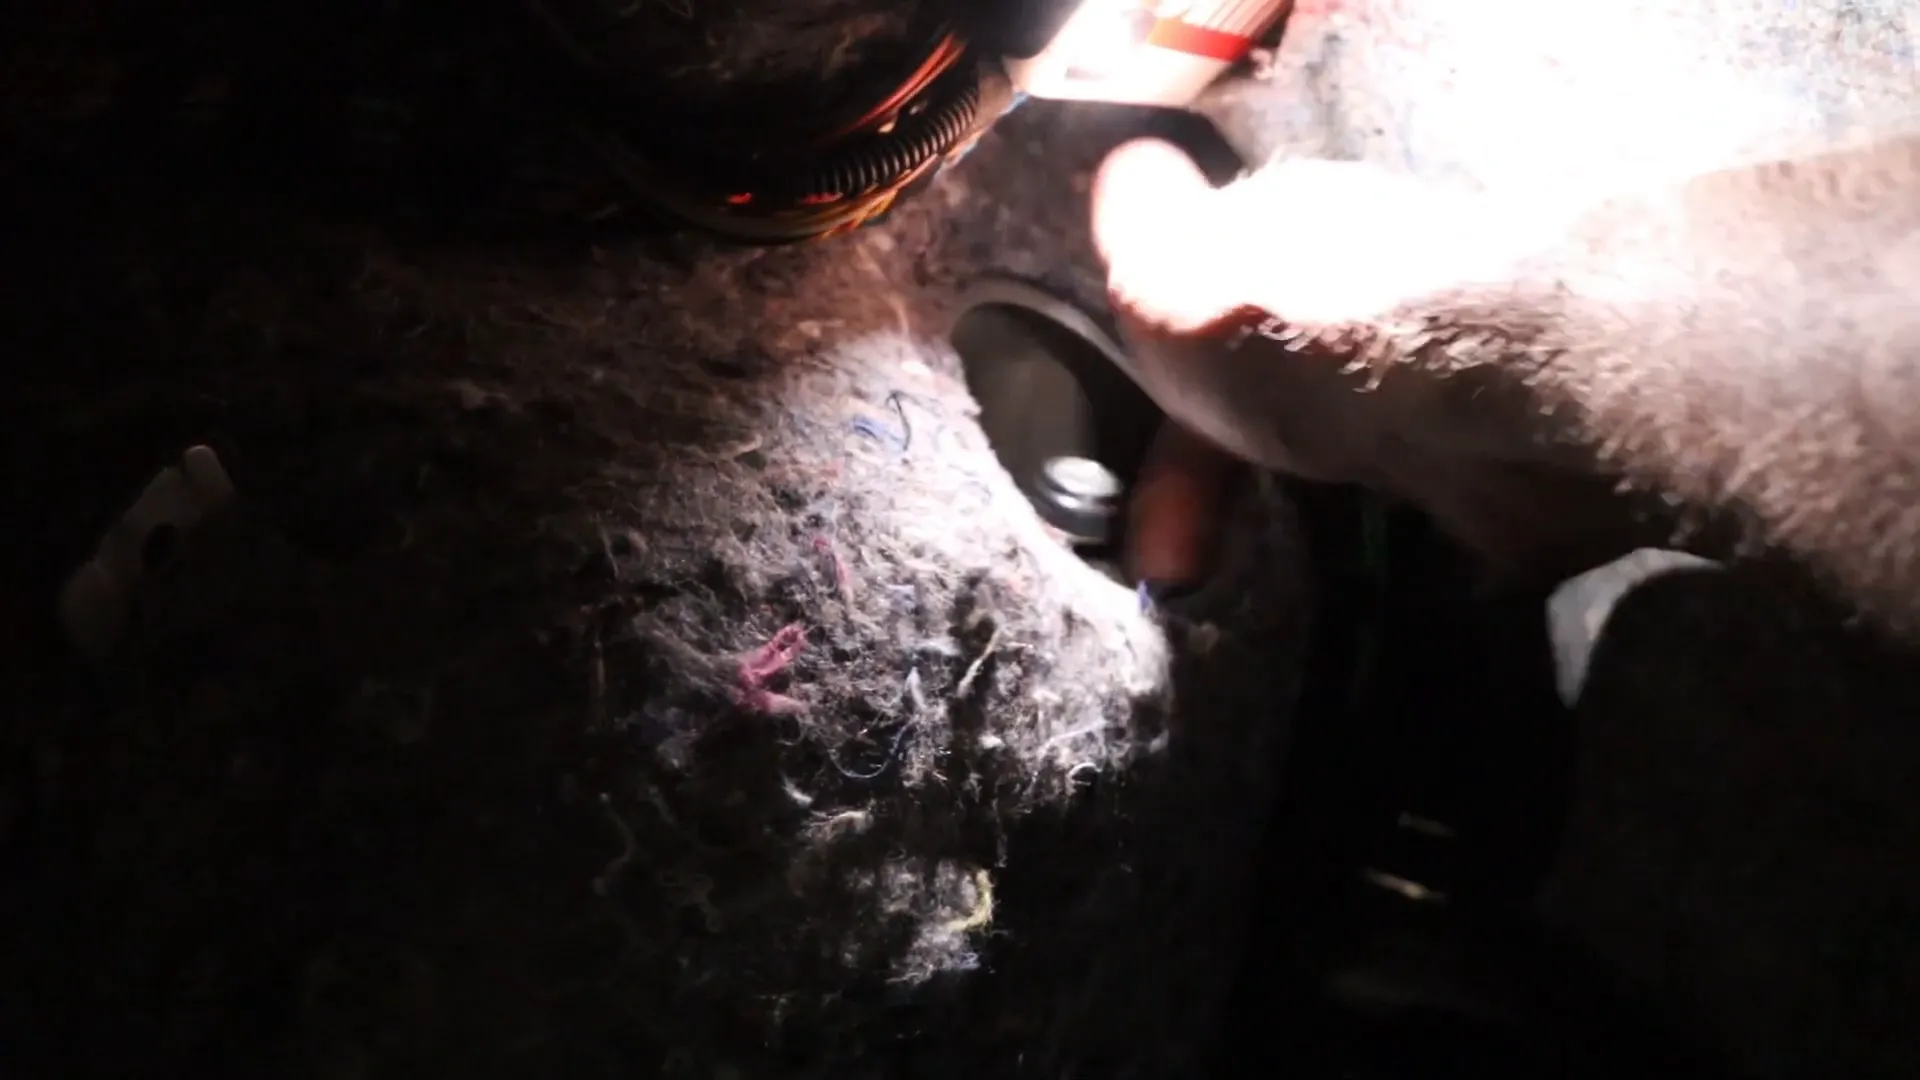
Moving on to the rear, open the trunk and peel back the carpet to access the top of the rear struts. You’ll find some plastic pins that need to be removed to gain better access. Use your plastic pry tools to gently pop them out.
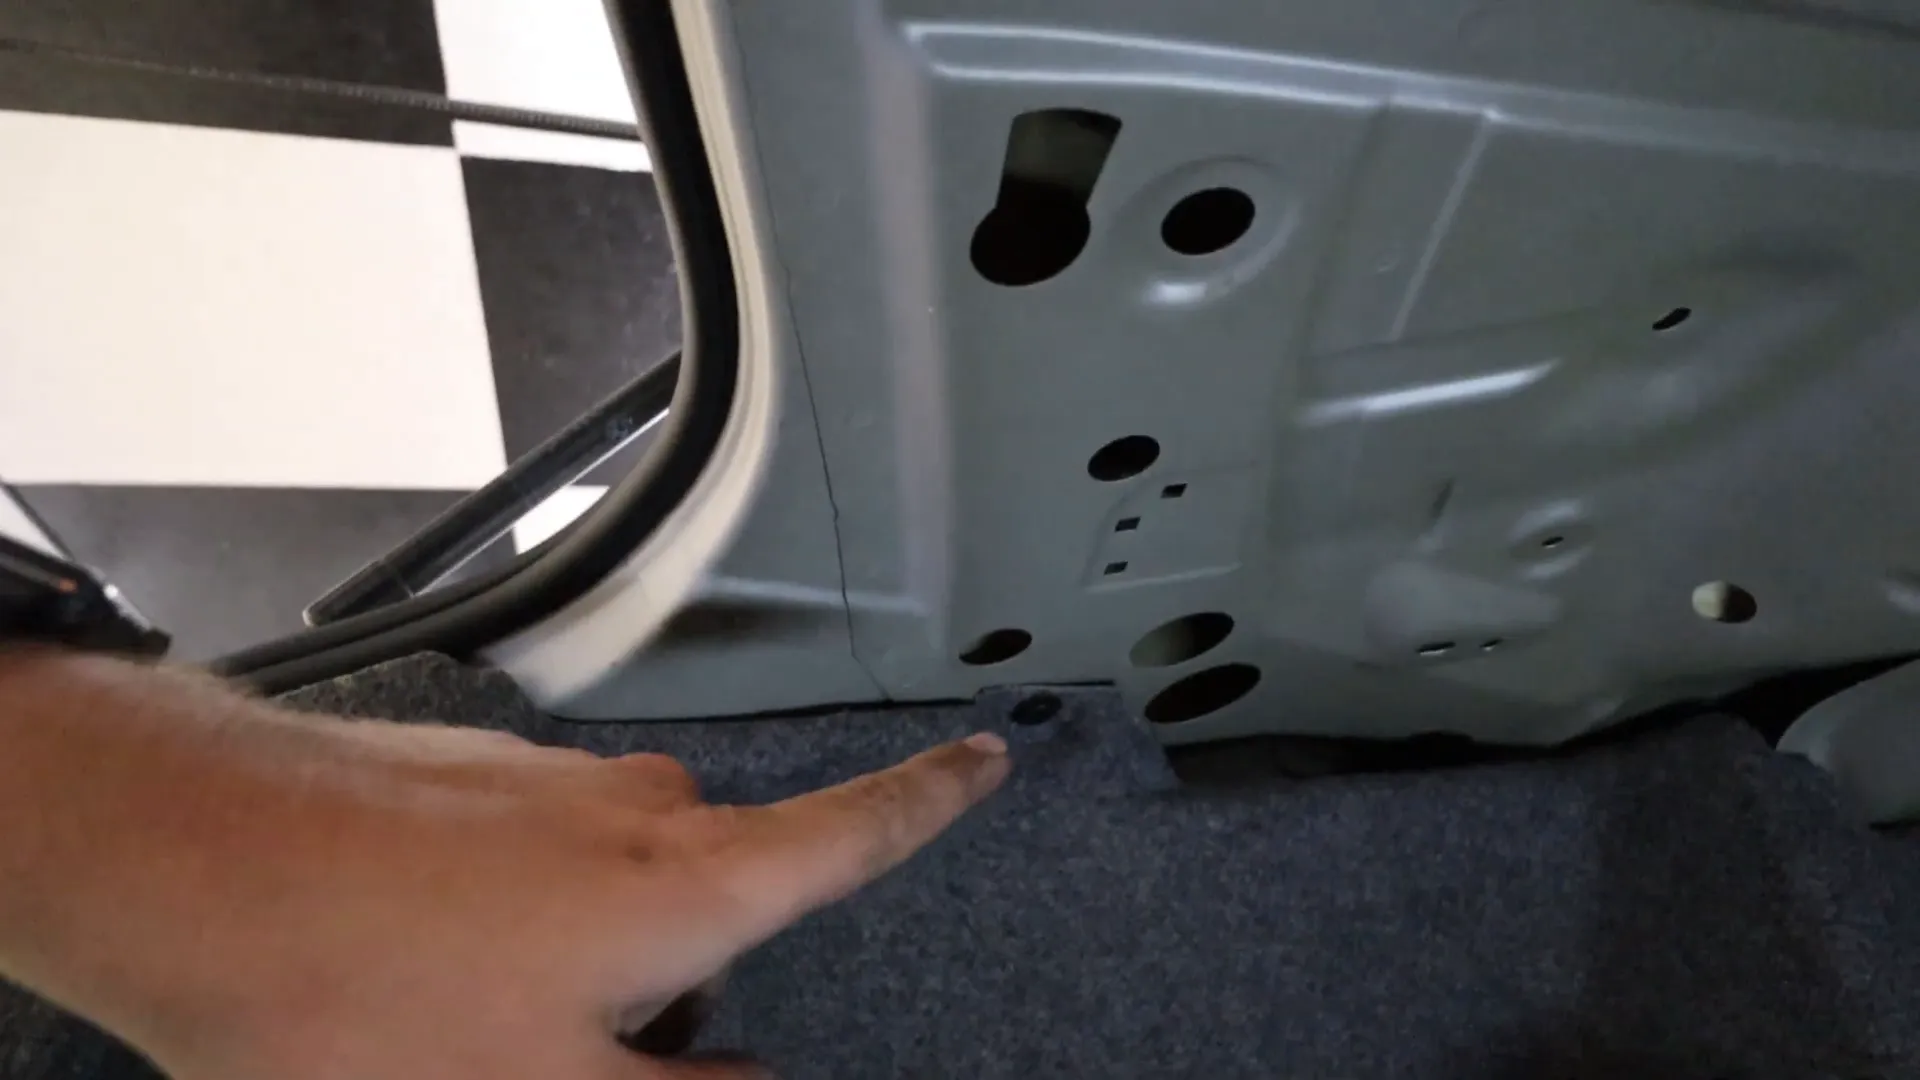
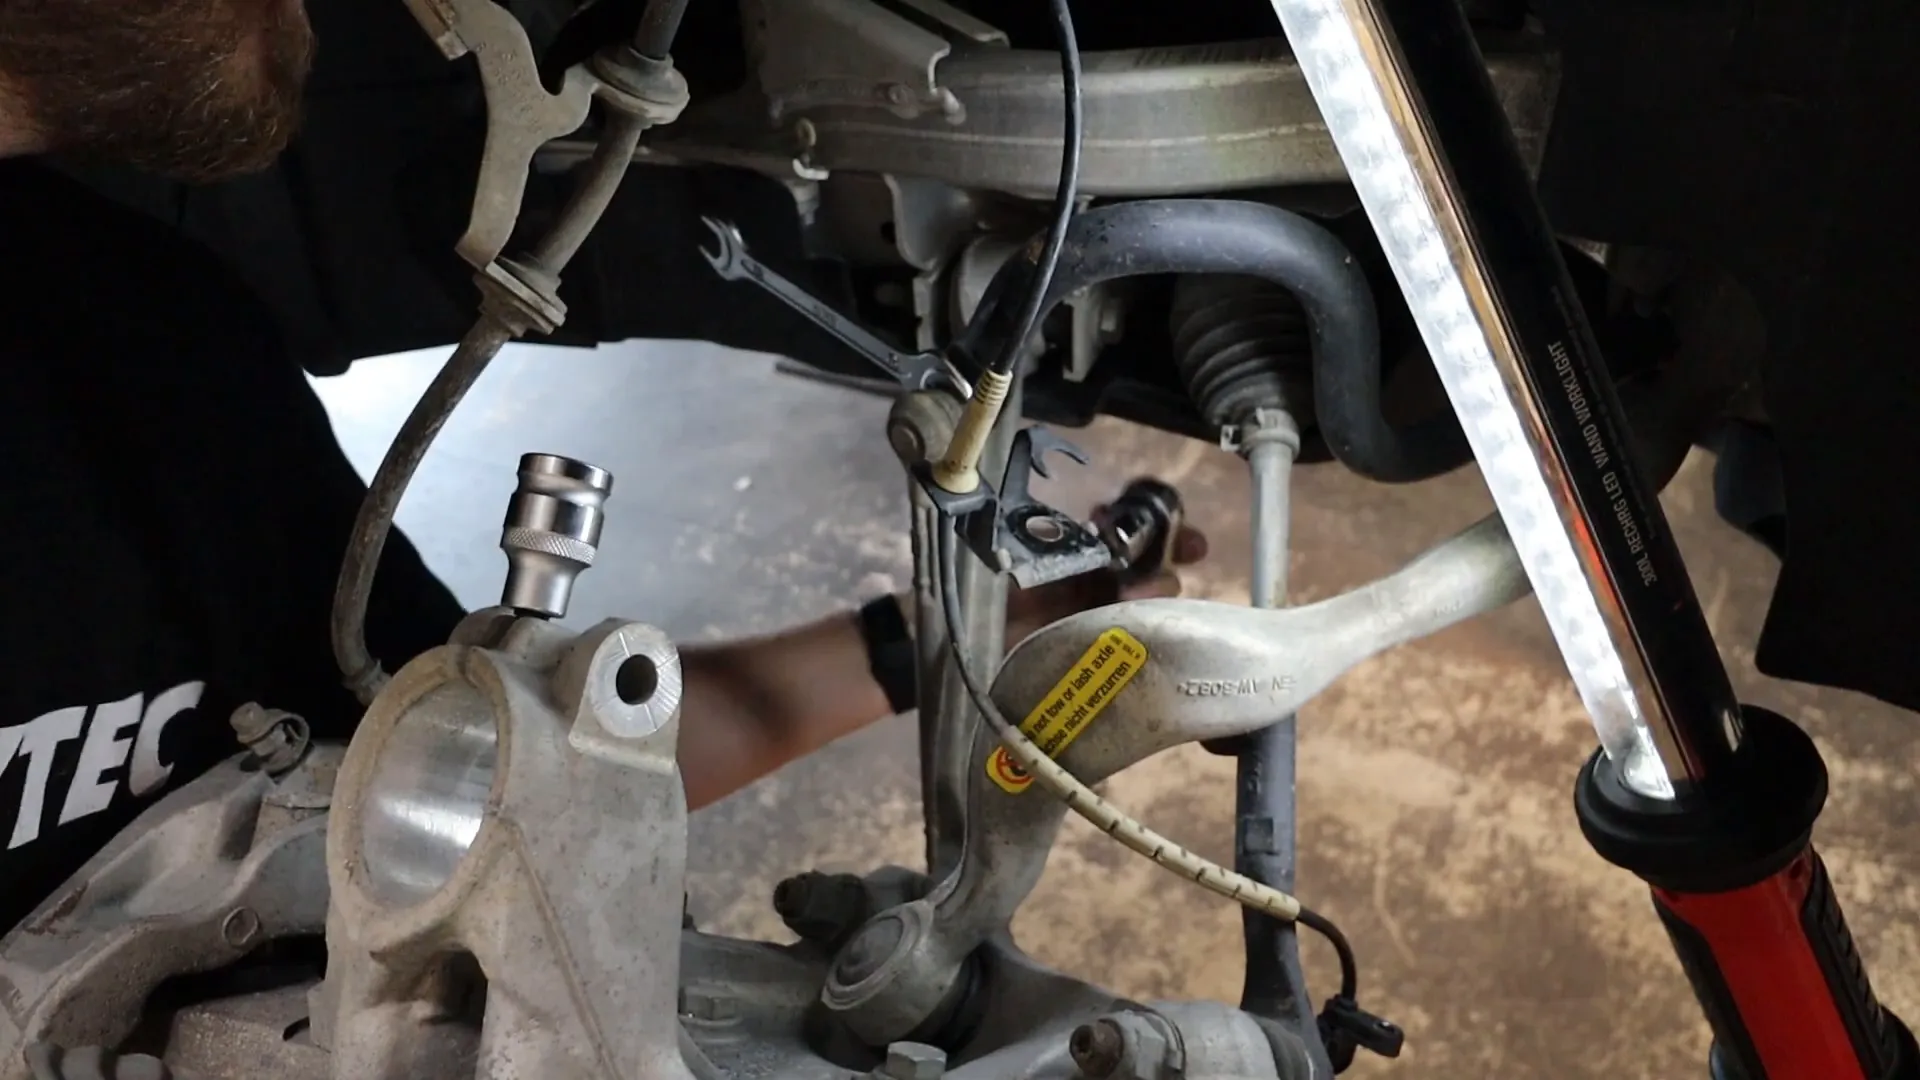
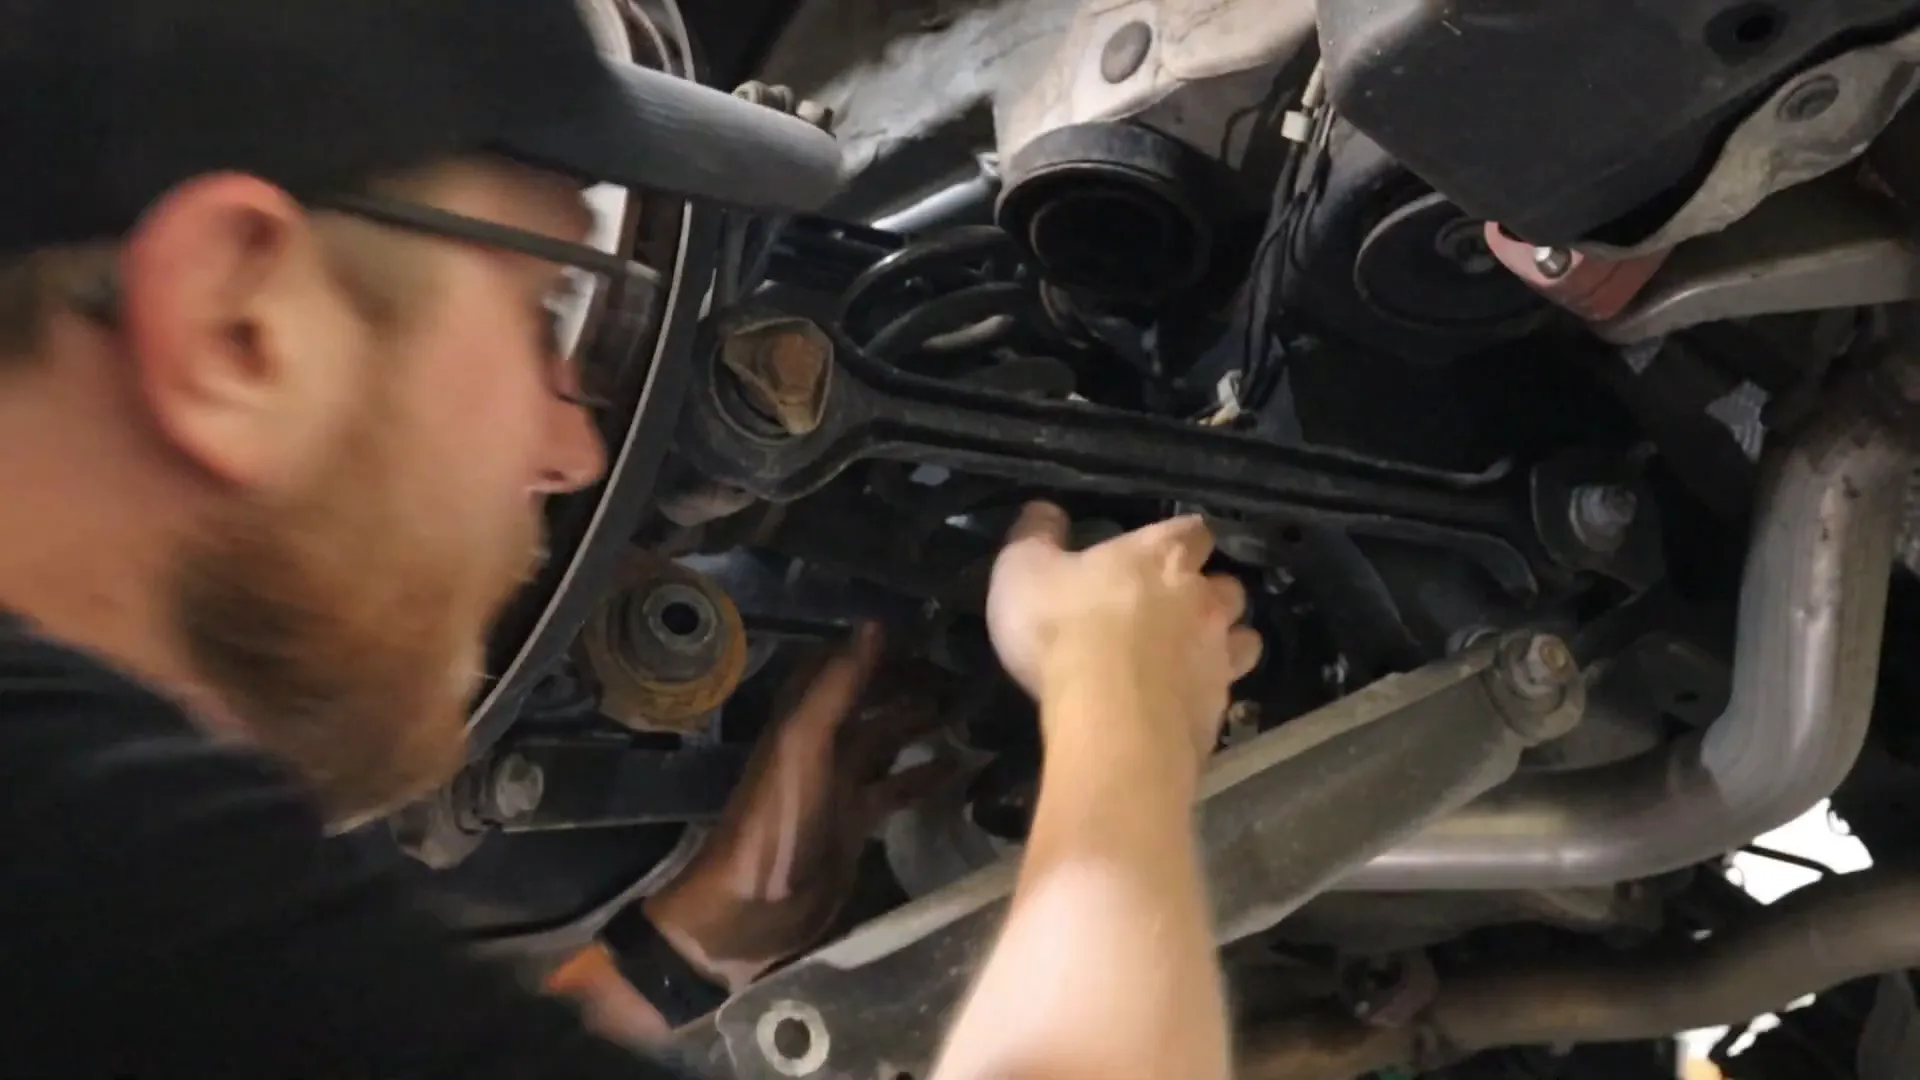
Once you have access, use a ratcheting wrench to loosen the top nut of the rear strut. Underneath the car, loosen the bottom of the shock as well. It’s crucial to keep everything organized during this process to avoid losing any bolts.
After loosening, drop the control arm slightly to ease the removal of the old strut. Carefully wiggle the old strut out and replace it with the new BC coilover. Make sure to align the lower strut mount properly before tightening everything back up.
Don’t forget to reinstall the top bushing from the OEM strut onto the BC coilover before securing it in place. This part is often overlooked but is vital for a proper fit.
Finalizing the Installation
With both the front and rear coilovers installed, it’s time to button everything up. Double-check all your connections, ensuring that each nut and bolt is torqued to the manufacturer’s specifications. This is not the time to skip on safety!
Next, reattach any clips or brackets that were removed during the process. This includes the brake line brackets and any electrical connectors like the wheel speed sensor. Make sure everything is secure and tidy.
Finally, go ahead and install the BC damping knob in the trunk. This will allow you to adjust the damping settings without having to crawl under the car, which is a fantastic feature!
Testing the New Setup
With the installation complete, it’s time for the exciting part—testing your new setup! Before hitting the road, take a moment to visually inspect everything once more. Check for any signs of misalignment or loose components.

Once you’re satisfied, take the car for a test drive. Start with a gentle cruise to get a feel for the new suspension. Pay attention to how the car handles over bumps and turns. You should notice a significant improvement in ride quality and responsiveness.
As you gain confidence, push the car a bit harder through corners. This is where the coilovers will shine, providing better grip and stability. Adjust the damping settings as needed to suit your driving style.
Frequently Asked Questions
How long does the installation take?
The installation can take anywhere from 3 to 6 hours depending on your mechanical skills and the tools at your disposal. Taking your time to ensure everything is done correctly is crucial.
Do I need a professional to install coilovers?
While it’s possible to do it yourself, having a professional can help avoid mistakes. If you’re not comfortable, it’s always best to consult with a mechanic.
Will installing coilovers affect my ride quality?
Yes, but in a good way! Coilovers typically provide a stiffer ride, which enhances handling and responsiveness. However, you can adjust the damping to find a balance that suits your comfort level.
How do I maintain my new coilovers?
Regularly check for any signs of wear or damage. Keep them clean and free from debris, and inspect the adjustment settings periodically to ensure they are still set to your desired specifications.
In conclusion, learning how to install BMW E90 coilovers not only transforms your car’s performance but also enhances your overall driving experience. Enjoy your newly upgraded ride!