The Ultimate Guide to BMW Wheel Studs: Why You Need a Conversion Kit
If you’re a BMW enthusiast who enjoys working on your own car, you know that one of the most frequent tasks is swapping out wheels. Whether you’re changing tires for the seasons or upgrading to a new set, a wheel stud conversion kit is a must-have modification. In this guide, I’ll share my experience with wheel studs, the installation process, and why they can make your life so much easier.
Why Choose Wheel Studs Over Lug Bolts?
For those unfamiliar, BMW vehicles come equipped with lug bolts, which can be a hassle when you’re trying to change a wheel. You have to align the wheel perfectly with the hub and then finesse those pesky bolts into place. It’s not only time-consuming but can also be frustrating, especially if you’re in a hurry. This is where a wheel stud conversion kit comes into play.
With a wheel stud conversion, you replace those lug bolts with studs that protrude from the hub. This allows you to simply slide the wheel onto the studs, making the process of changing wheels much quicker and more efficient. Plus, if you want to run spacers, the longer studs make it easy without needing to buy longer lug bolts.
What You’ll Need for the Installation
Before diving into the installation process, let’s gather the necessary tools and parts:
- Wheel Stud Conversion Kit: This includes the studs and lug nuts.
- Red Loctite: For securing the studs.
- 5mm Hex Bit Socket: For tightening the studs.
- Torque Wrench: To ensure proper torque on the studs.
- Low-Pro Jack and Jack Stands: For lifting the vehicle safely.
- Optional Spacers: Depending on your desired wheel fitment.
Installation Steps
Now, let’s get into the nitty-gritty of how to install your wheel stud conversion kit. It’s a straightforward process that anyone can do with a little bit of time and effort.
Step 1: Lift the Vehicle
Start by safely lifting your BMW using your low-profile jack and secure it with jack stands. Make sure the vehicle is stable before you start working.

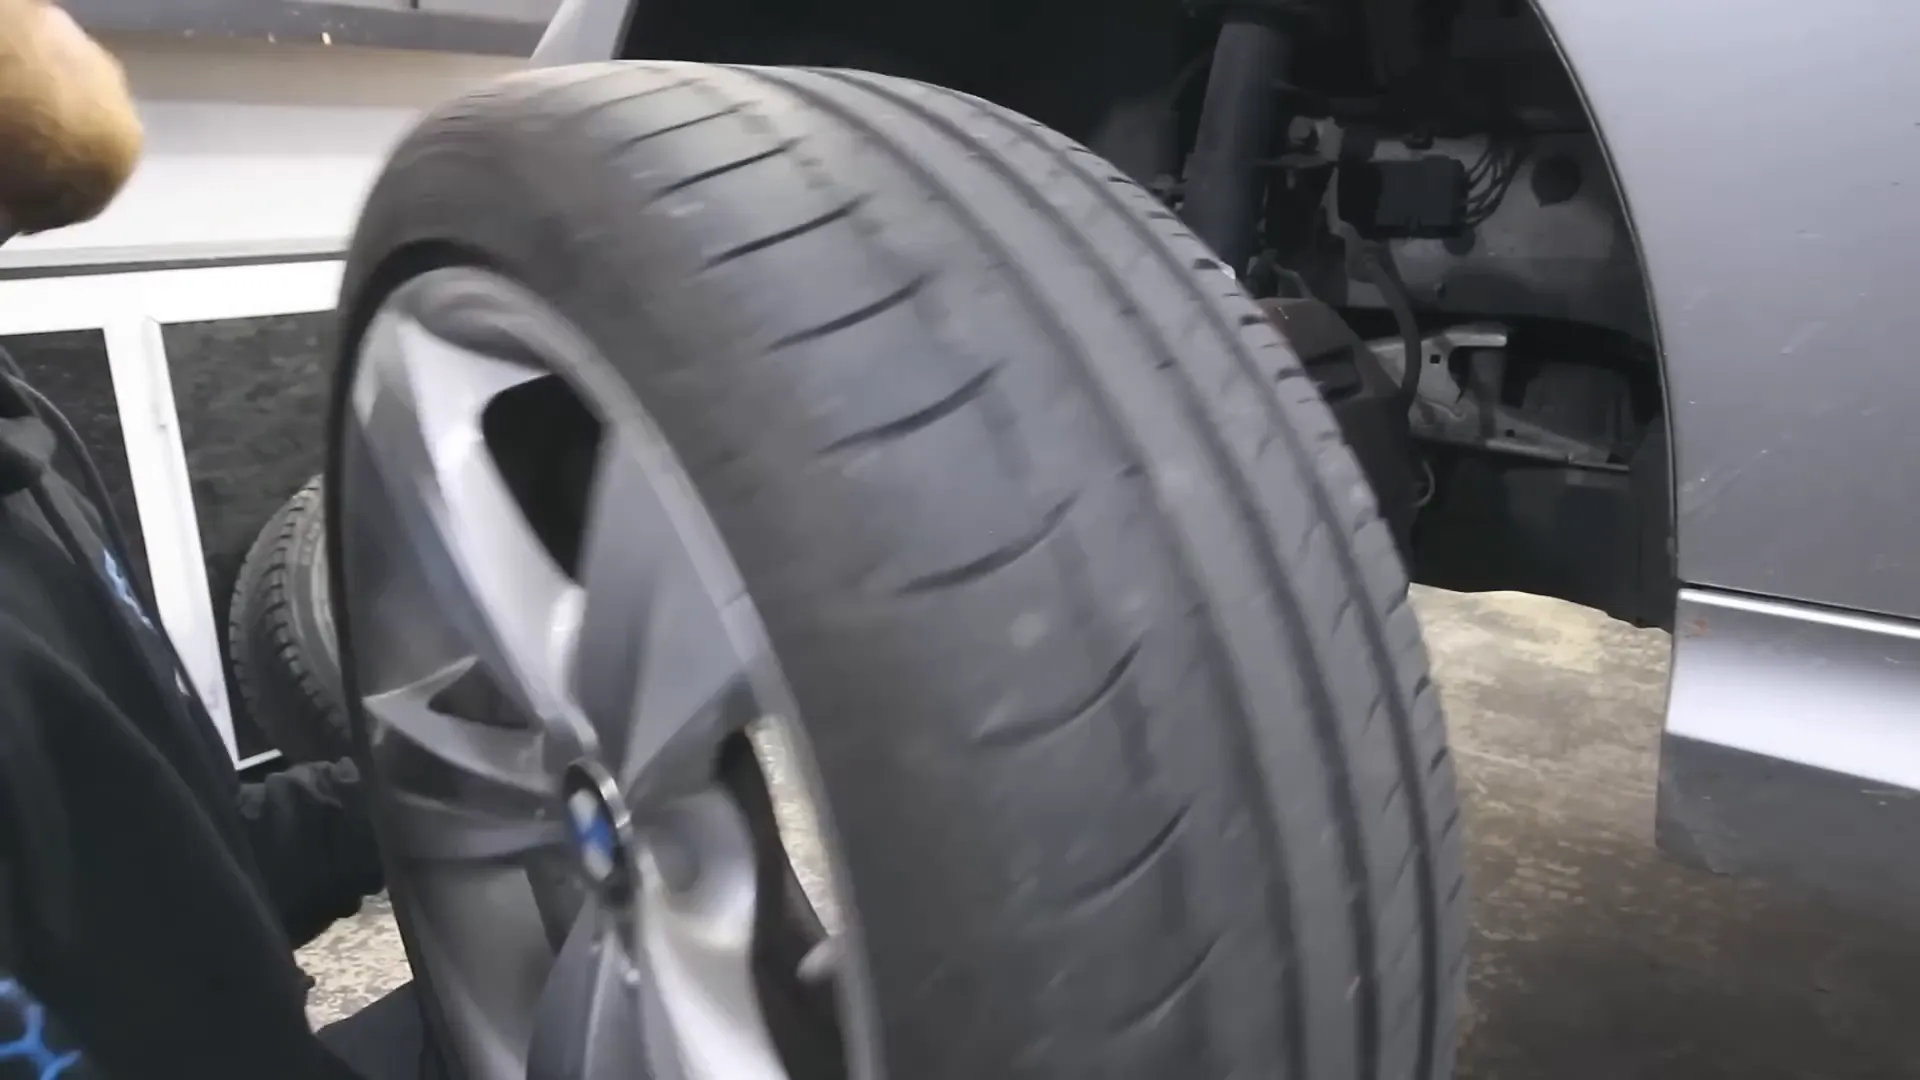
Step 2: Remove the Wheel
Using a 17mm wheel-saver socket, remove the lug bolts from the wheel you plan to work on. With the lug bolts out, the wheel should slide off easily.
Step 3: Clean the Hub
Take this opportunity to clean the hub where the wheel sits. Remove any rust or debris to ensure a smooth contact surface for the new studs.
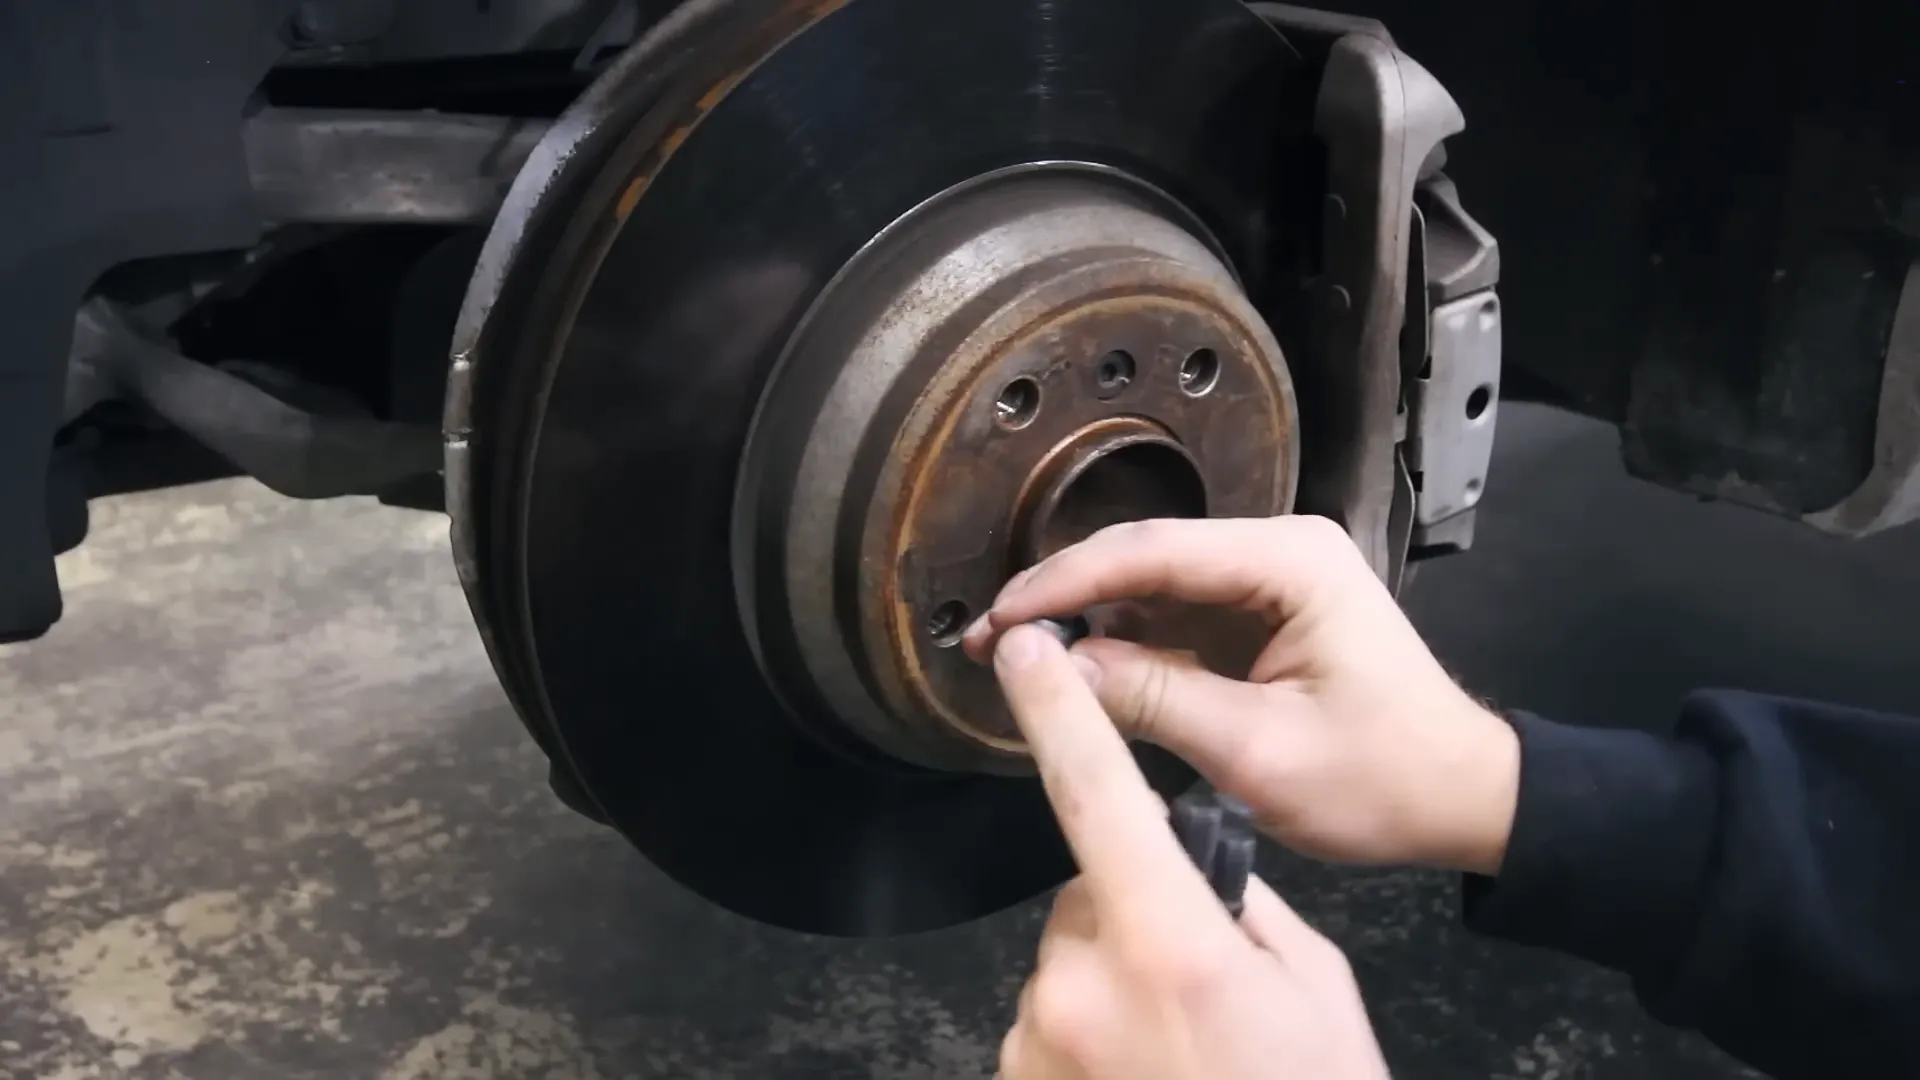
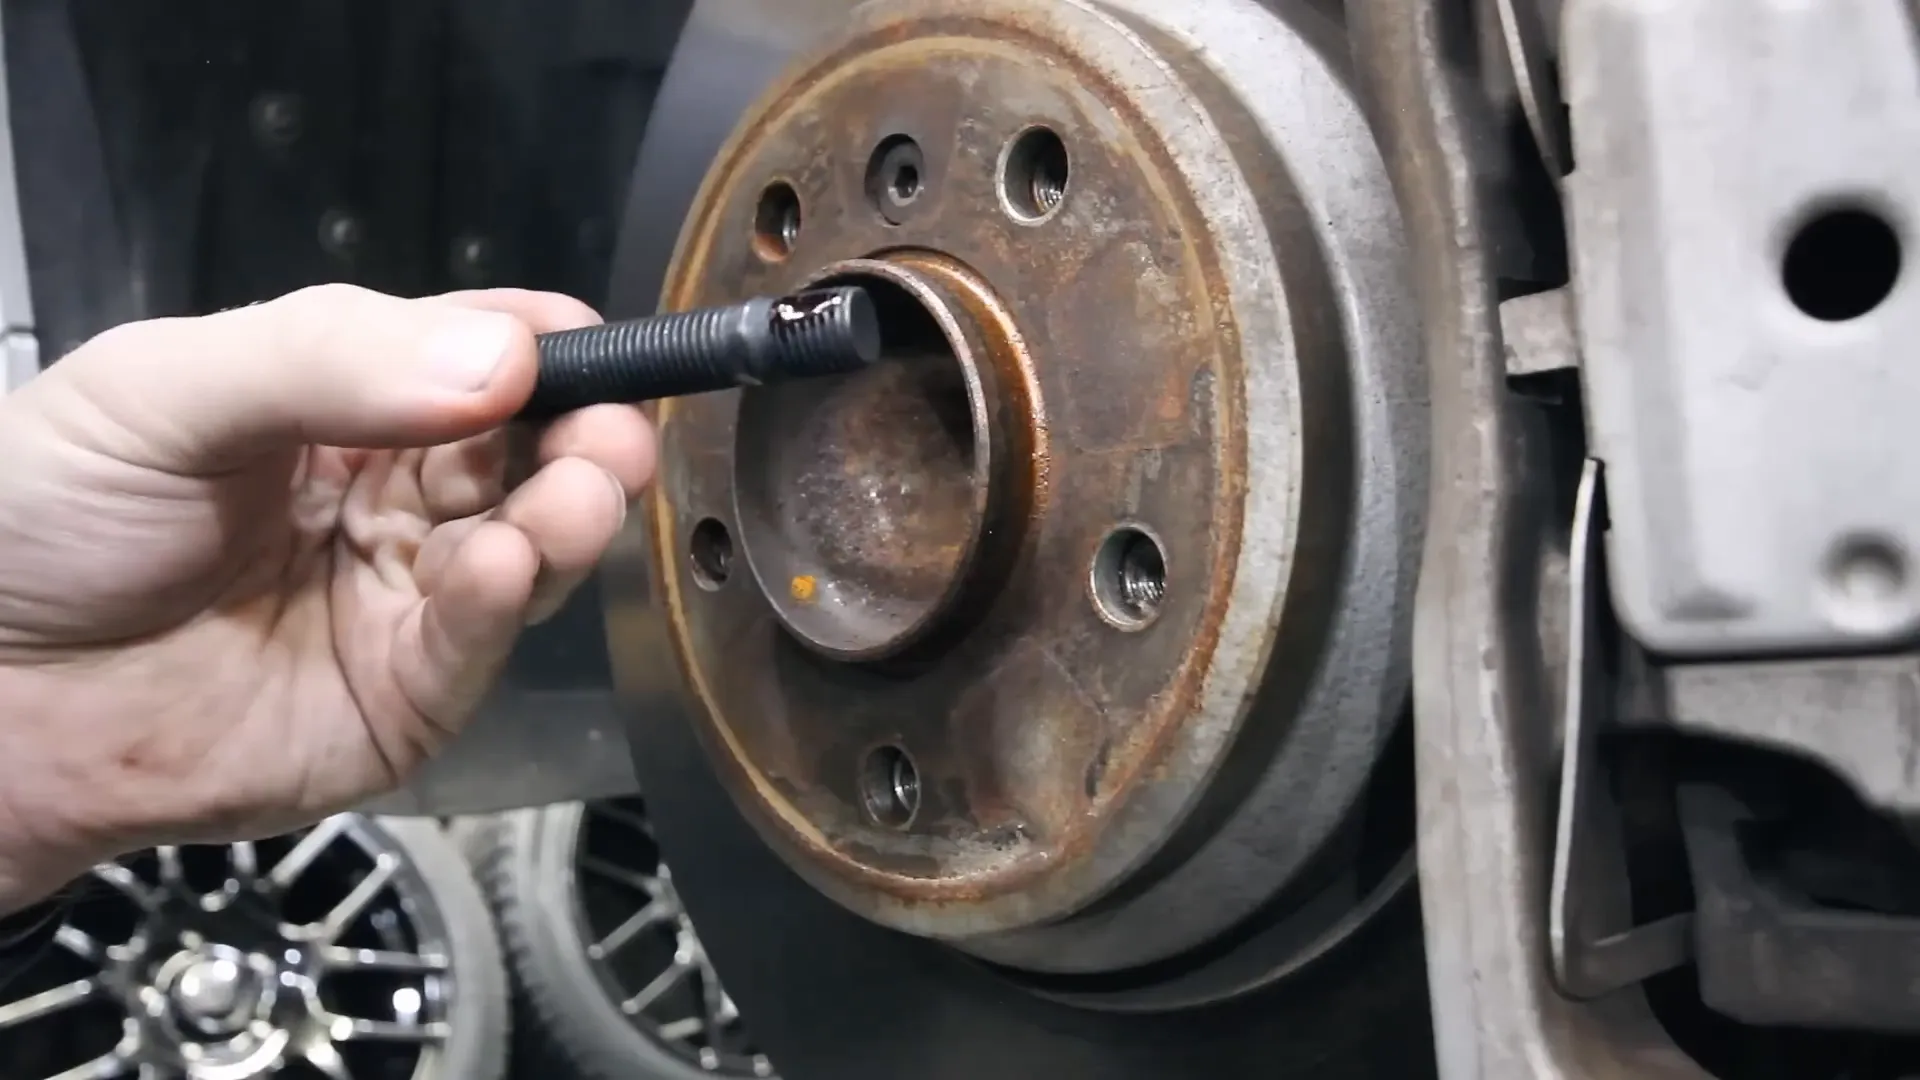
Step 4: Install the Studs
Take your first stud and apply a small dab of red Loctite to the threaded end. Thread the stud into the hub until it’s hand-tight. Repeat this for all studs on that wheel.
Step 5: Torque the Studs
Using your torque wrench with a 5mm hex bit socket, torque the studs to 25 ft-lbs. You may need a helper to press the brake pedal while you do this to prevent the rotor from spinning.

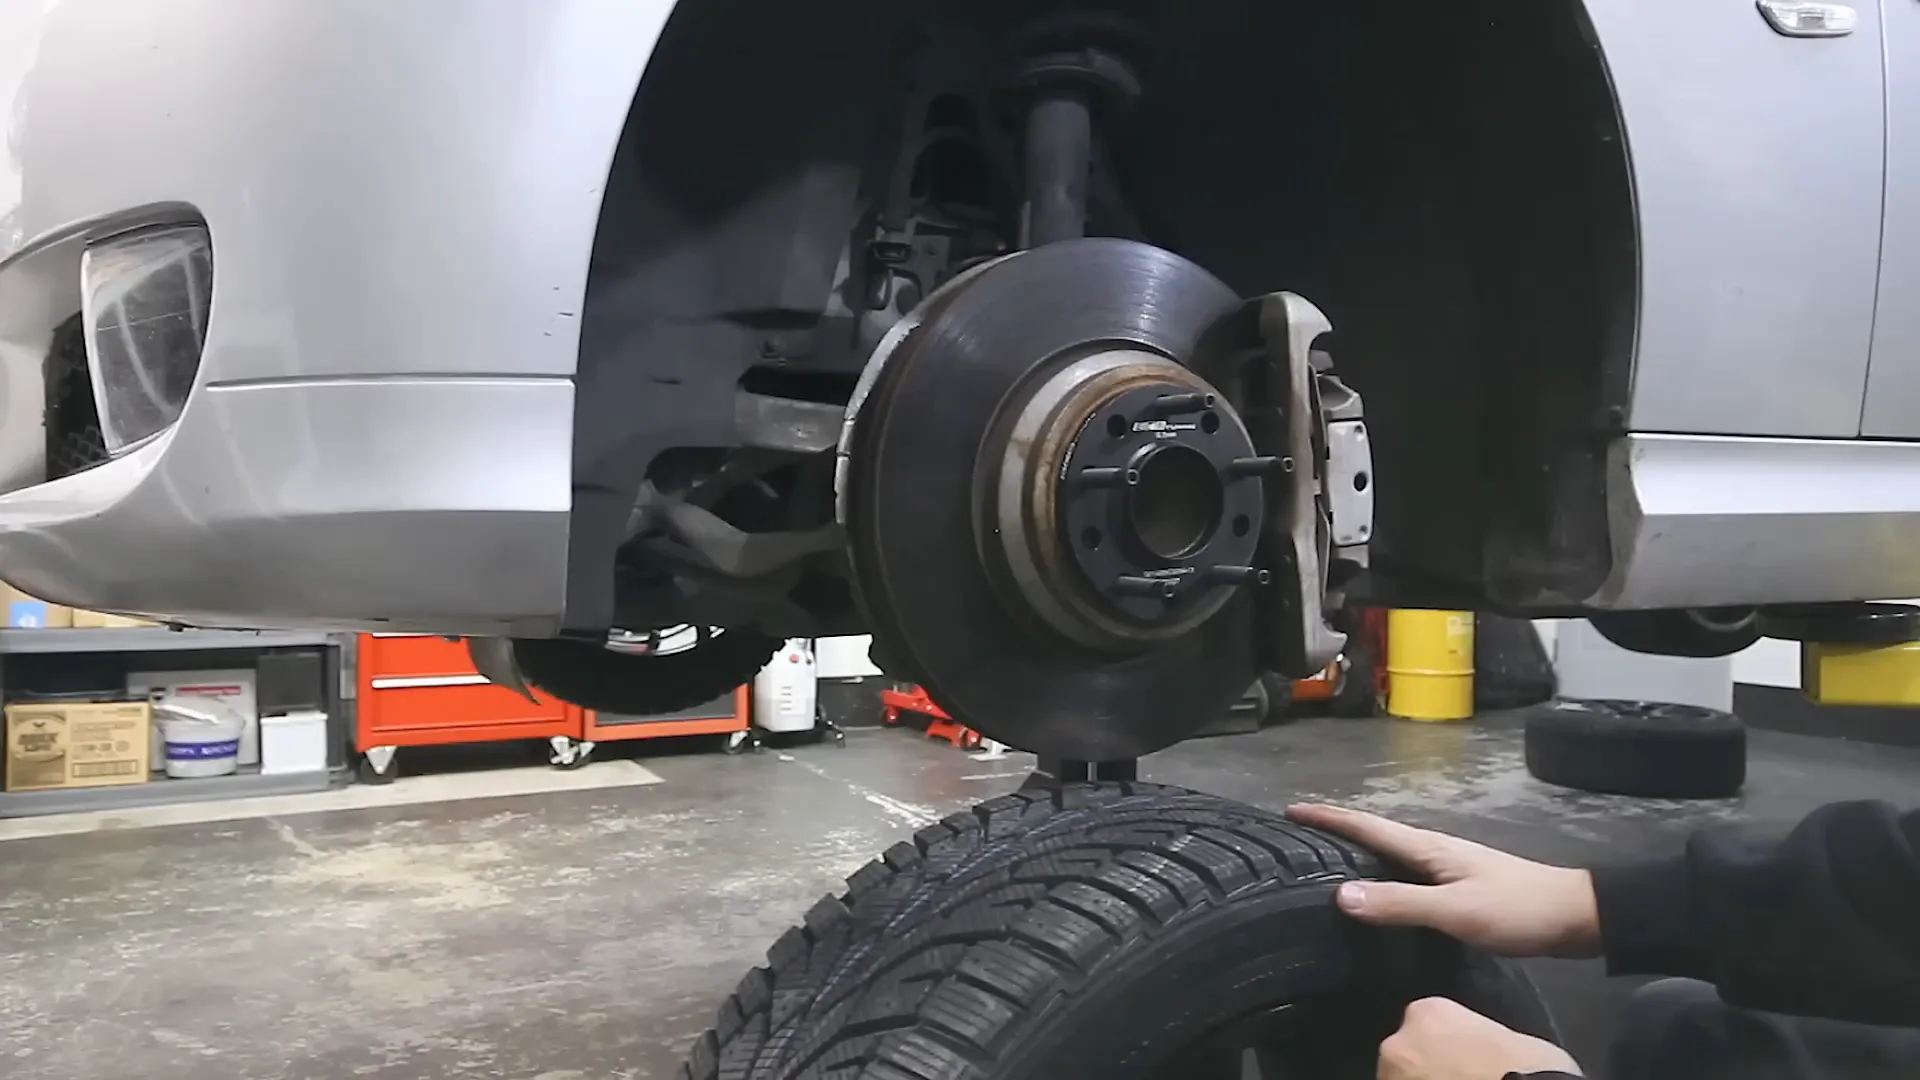
Step 6: Add Spacers (Optional)
If you’re using spacers, now’s the time to install them. Place the spacer onto the studs and ensure it’s seated properly. Then, place the wheel onto the studs and align it with the holes.
Step 7: Install the Wheel
Slide the wheel onto the studs and hand-tighten the lug nuts. Once they are all on, use your torque wrench to tighten them in a star pattern to the manufacturer’s specifications.
Step 8: Repeat for Other Wheels
Repeat the above steps for the other three wheels. Once you’ve completed all four, lower the vehicle back to the ground.
Final Thoughts
Having a wheel stud conversion kit is truly a game changer for BMW owners. It not only simplifies the process of changing wheels but also allows for easy installation of spacers without the need for longer lug bolts. After installing this kit, I can confidently say that it’s one of the best modifications I’ve made to my BMW.
So, if you’re ready to make your wheel-swapping experience easier, consider investing in a wheel stud conversion kit. You won’t regret it!
For more BMW parts and modifications, check out ECS Tuning for top-notch products.
Feel free to drop your comments or questions below, and don’t forget to subscribe for more DIY BMW content! You can find me on YouTube, Instagram, and TikTok where I post BMW-related content all the time.