Fixing the Most Common BMW N54 Coolant Leak: A Step-by-Step Guide
Welcome back, BMW enthusiasts! Today, we’re diving deep into a common issue that many BMW owners face: the notorious coolant leak in the N54 engine. If you’re driving a BMW 335i or 135i, this is something you need to be aware of. Let’s break down the main causes, how to identify them, and, most importantly, how to fix them before they lead to bigger problems.
Tools and Parts You’ll Need
Here’s a quick list of the tools and parts required for the job:
- Radiator vent hose
- Upper radiator hose (if you break the nipple)
- Pentofrost NF coolant concentrate
- T20 Torx wrench
- Dremel kit
- Pick set
- Assorted hose clamps
- Fluid funnels
Understanding the N54 Coolant Leak
First things first, the N54 engine is known for its performance and reliability, but it does have its weaknesses, particularly in its cooling system. Many of the components are made from plastic, which can become brittle over time, leading to cracks and leaks. If you’re experiencing a coolant leak, you’re not alone! Many drivers have faced this issue, often leaving them stranded.
Recently, I had my own experience with this. My trusty 2009 335i left me stranded due to a coolant leak. It was a wake-up call that made me realize how important it is to maintain our BMWs. Upon closer inspection, I discovered the leak wasn’t from the radiator, as I initially thought, but from a common culprit: a cracked coolant hose.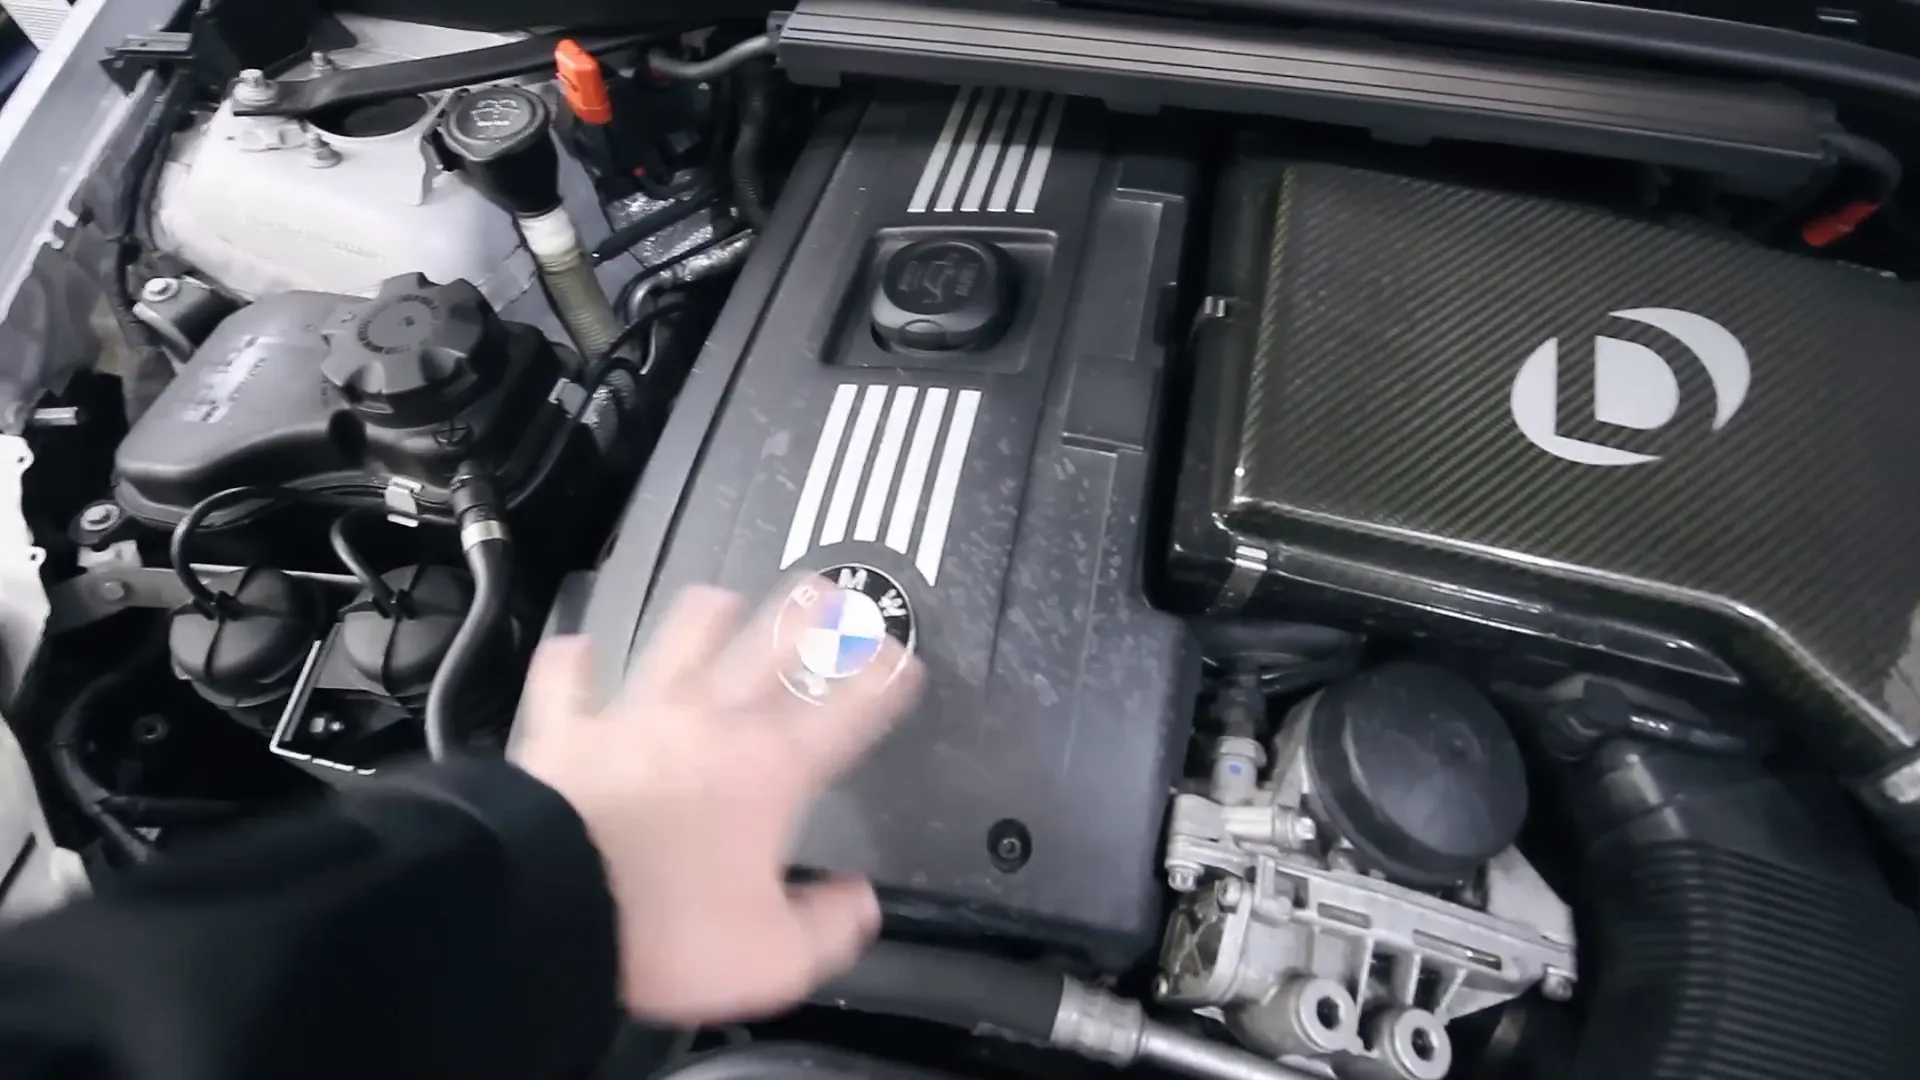
Identifying the Leak
When trying to identify a coolant leak, look for signs of coolant pooling under the car or visible coolant stains around the engine compartment. In my case, coolant was spraying everywhere, making it clear that something was wrong. The first step is to check the radiator, as that is a common leakage point. If it’s not the radiator, the next place to check is the coolant hoses.
To find the leak, you’ll need to remove the air snorkel. This is a straightforward process that involves removing a couple of T20 Torx screws and disconnecting the snorkel from the airbox. Once you have that removed, you can get a better look at the coolant hoses.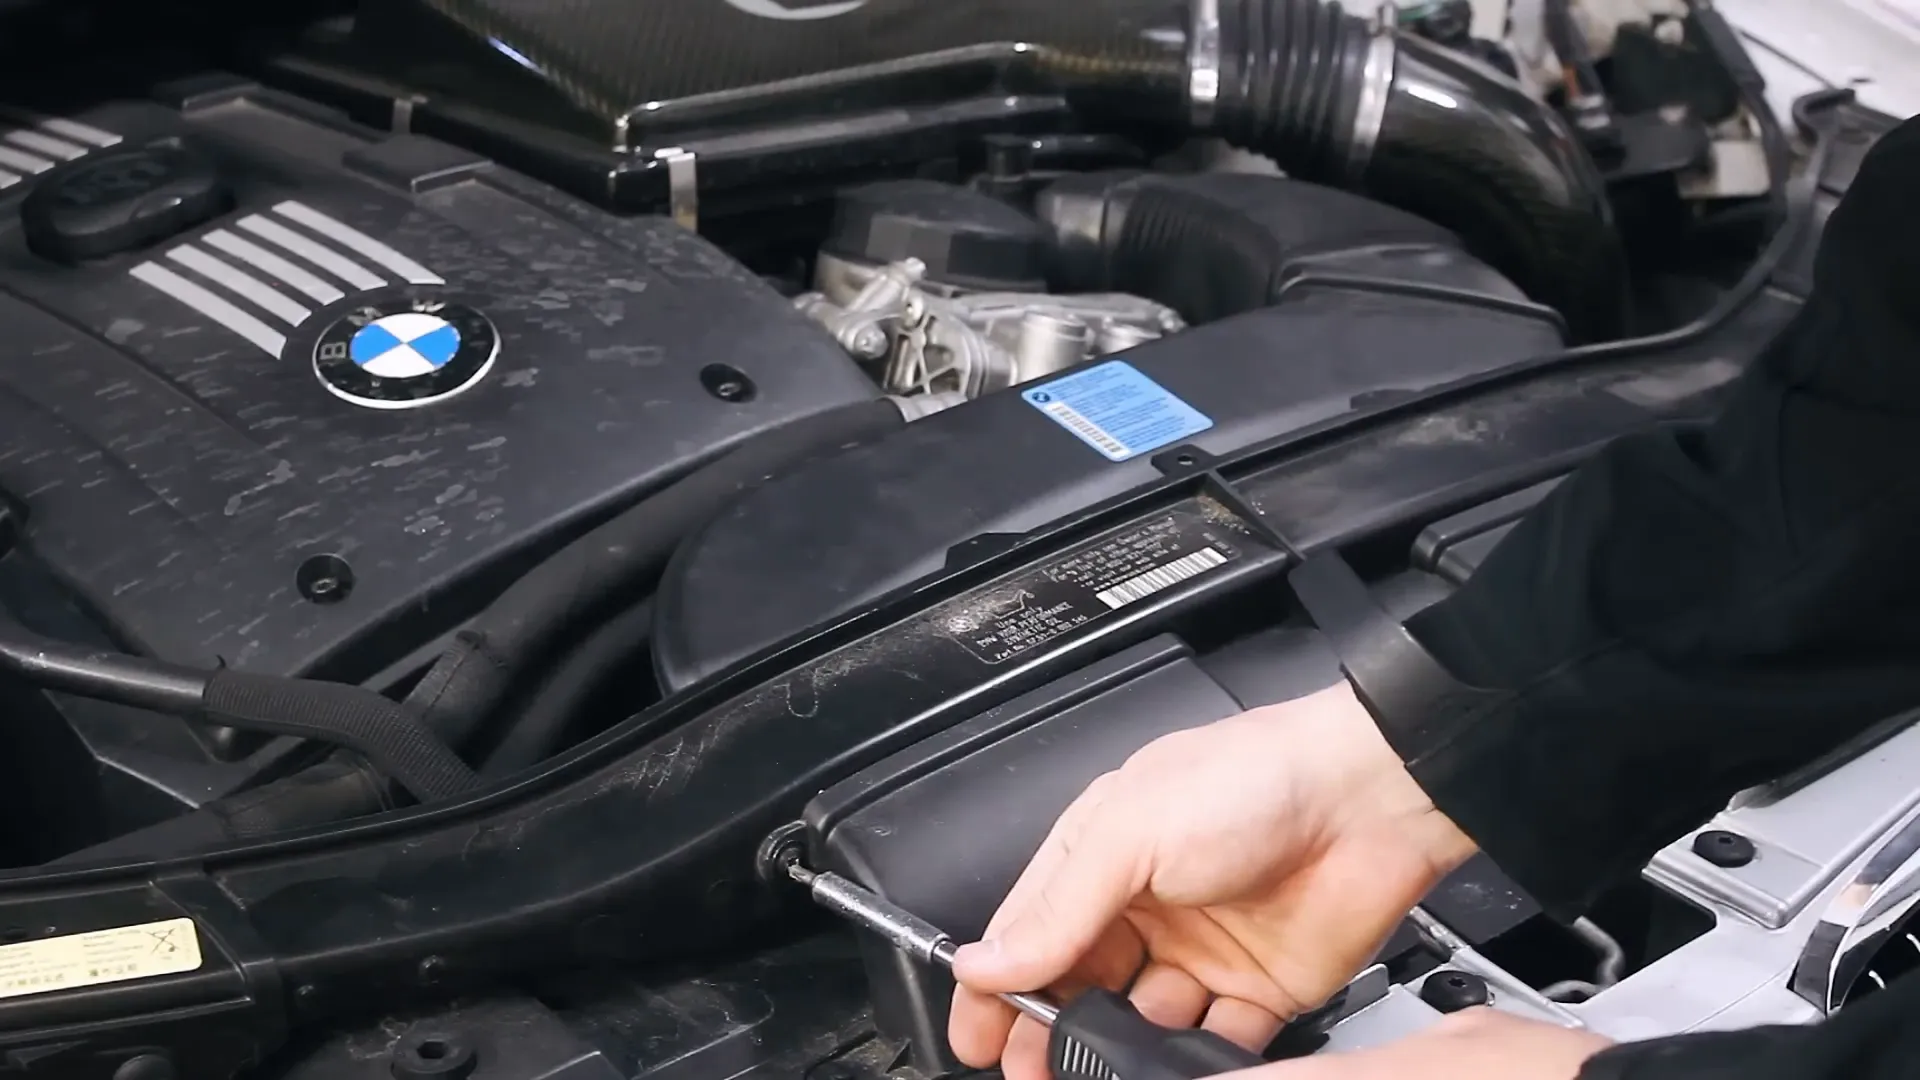
Common Leak Areas
In the N54 engine, a few specific areas are notorious for leaks:
- Plastic Radiator: As mentioned, these can crack, especially with age and heat cycles.
- Coolant Hoses: The hoses can become brittle and develop cracks. The hose that runs from the coolant reservoir is often a common failure point.
- Plastic Nipple: This is a fitting that connects the hose to the coolant reservoir. It’s known for breaking easily, especially if you’re not careful when disconnecting the hose.
- Water Pump: N54 water pumps are plastic and can sometimes crack, leading to a slow coolant leak.
Repairing the Coolant Leak
Now that you’ve identified the source of the leak, it’s time to repair it. If your hose is cracked, you can either replace the entire hose or, in a pinch, use some metal tubing as a temporary fix. For my repair, I opted to replace the entire hose as it’s a more permanent solution.
Before you start, make sure your engine is cool. Working with a hot engine can lead to coolant spraying everywhere, which is not only messy but dangerous. Once the engine has cooled, you can proceed with the replacement.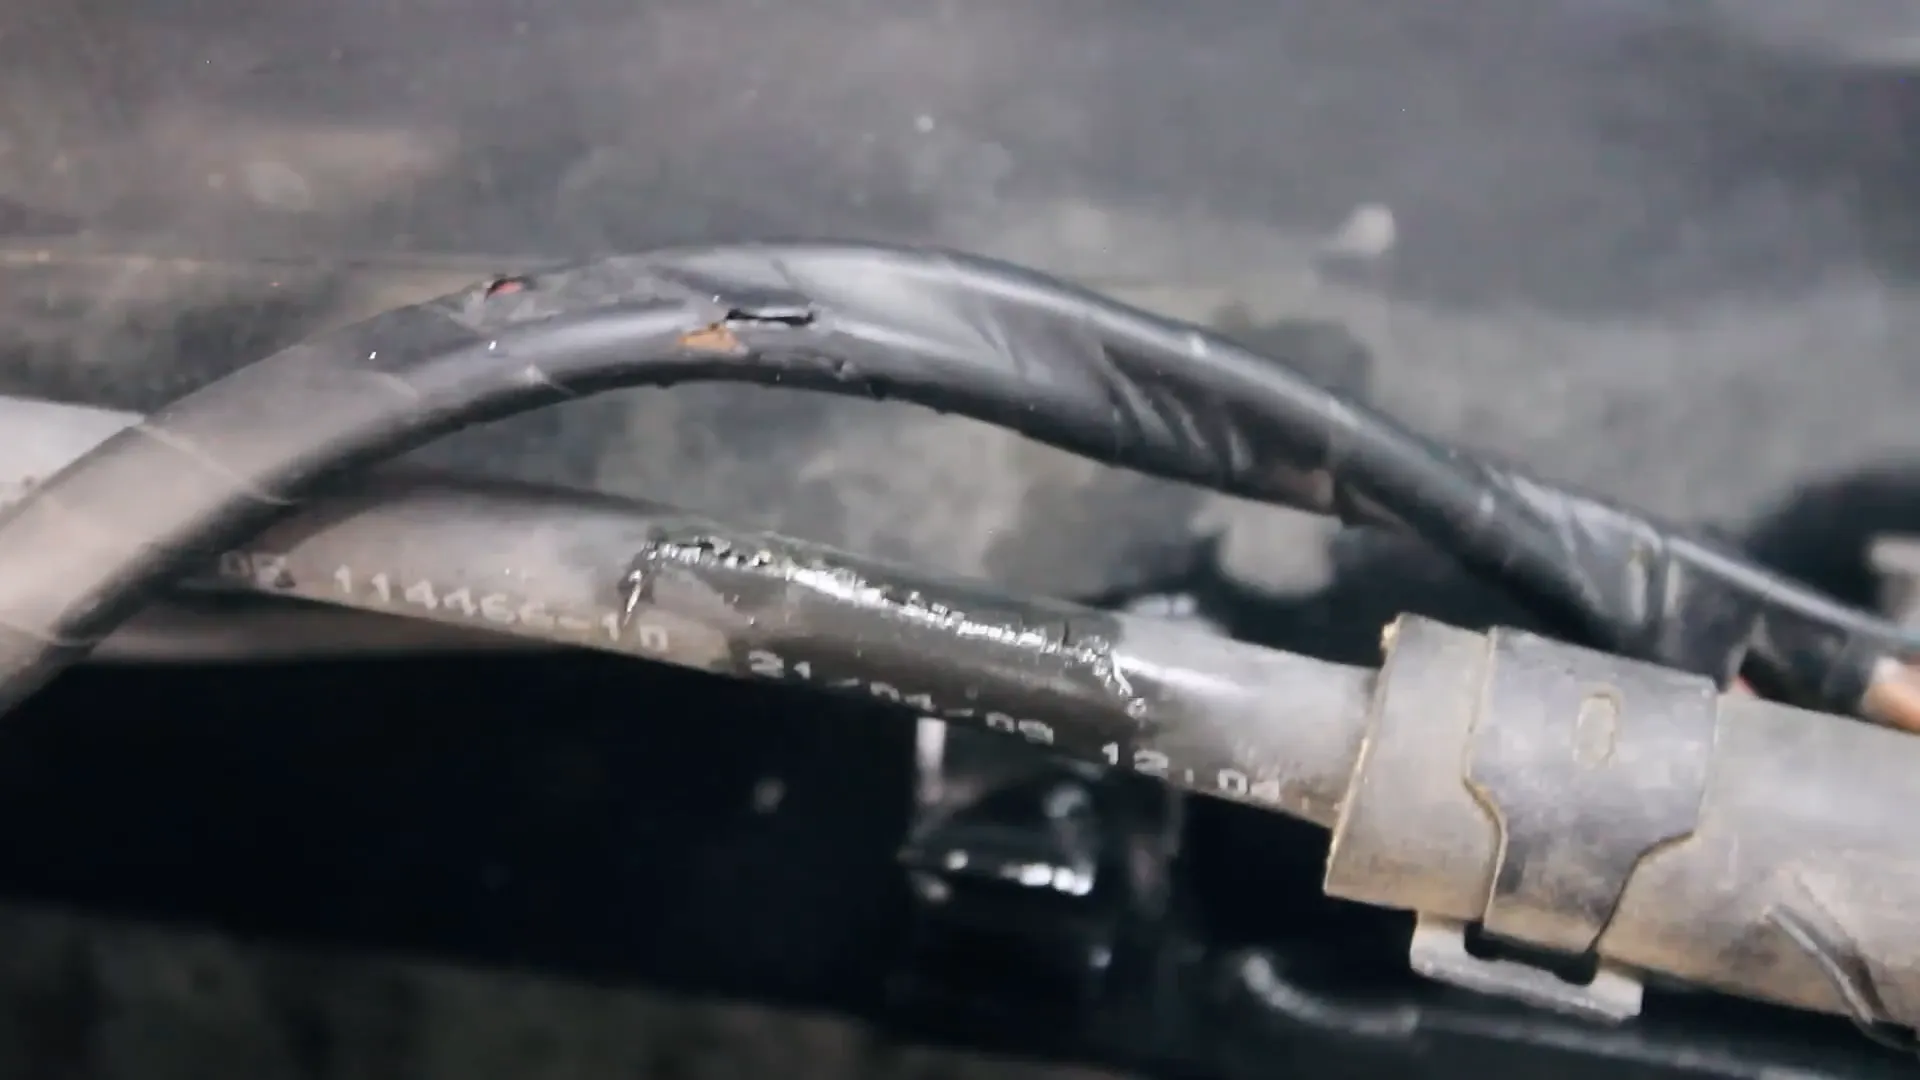
Steps to Replace the Hose
Here’s a quick step-by-step guide to replacing the cracked hose:
- Remove the air snorkel as described earlier. This gives you access to the coolant hoses.
- Locate the cracked hose. In my case, it was a hard plastic hose that had split.
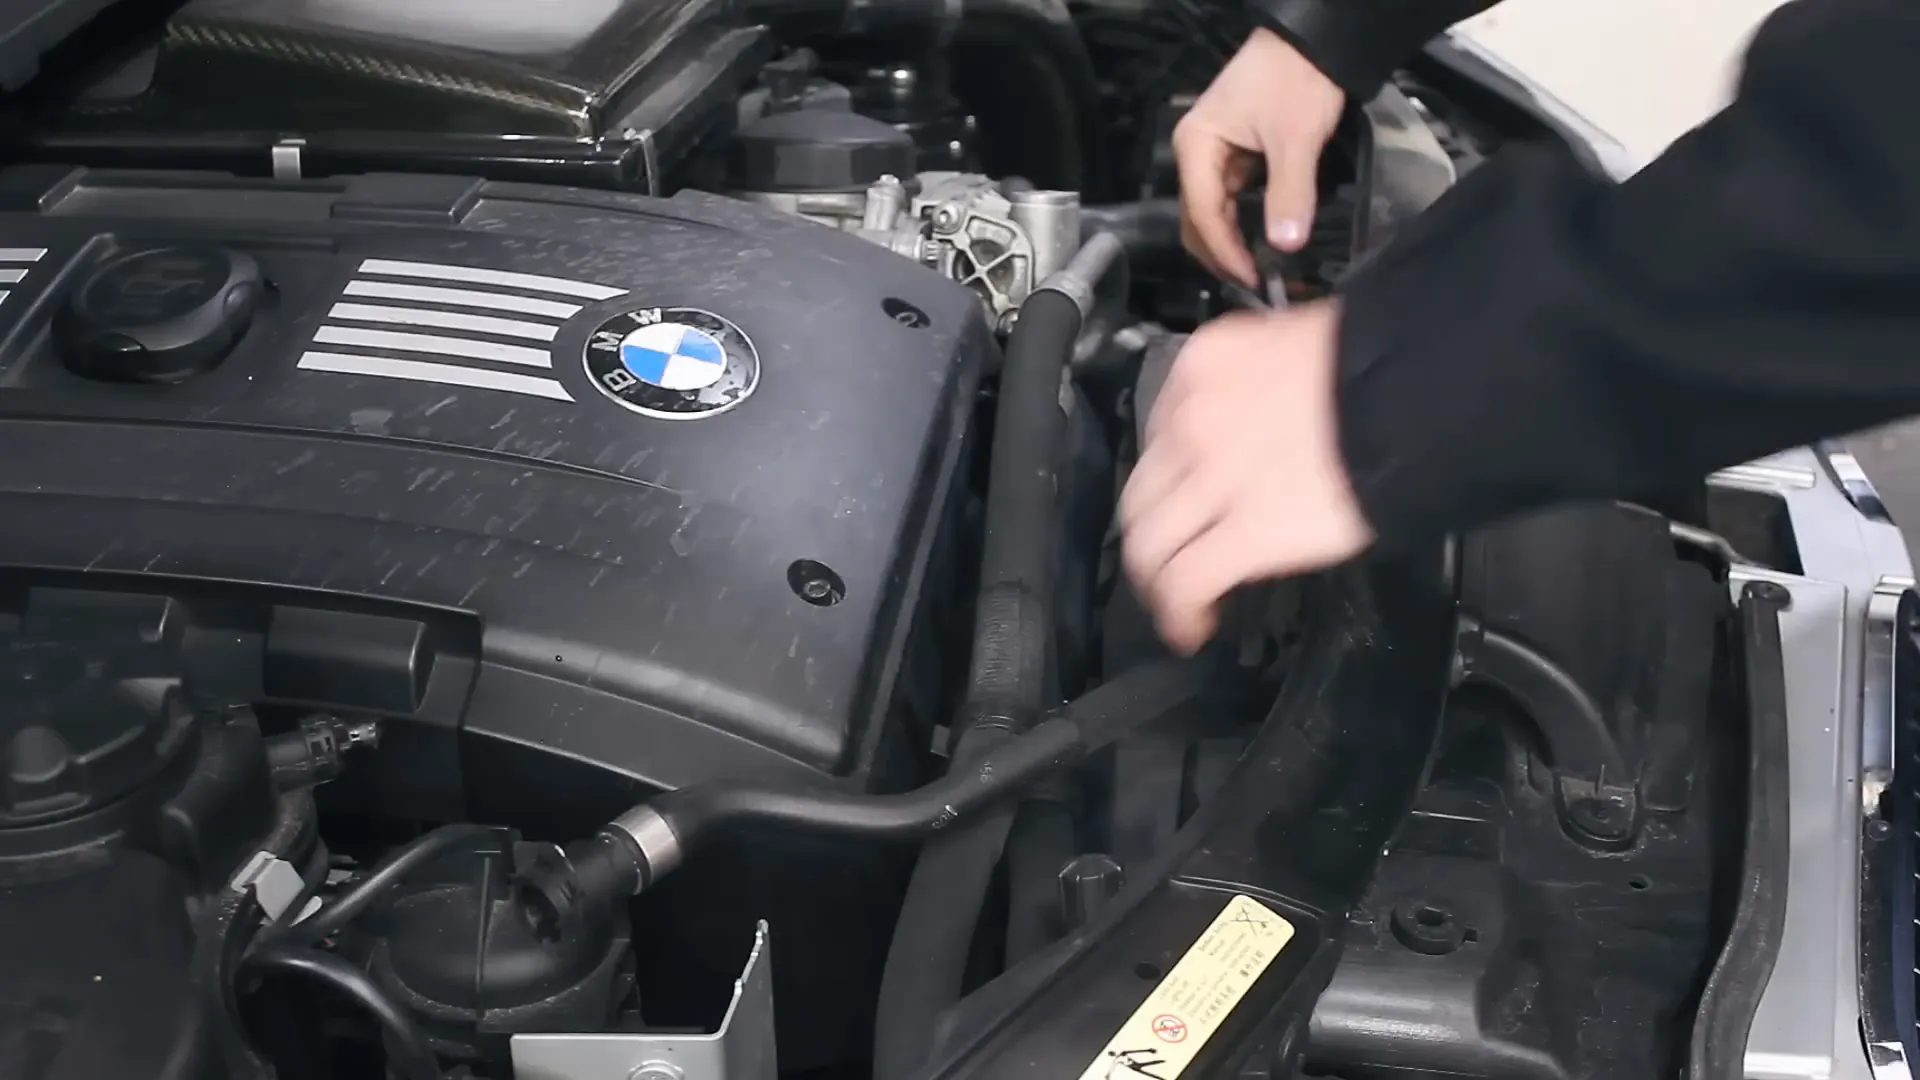
- Carefully disconnect the hose from both ends. Be gentle, especially with the plastic nipple, as it can break easily.
- Use a Dremel to cut away any clamps that are holding the old hose in place, as these can be permanent clamps.
- Once the old hose is removed, take your new hose and ensure that you have the correct size and fittings.
- Install the new hose, ensuring that any clamps are securely fastened. If your new hose doesn’t come with a clamp, use an appropriately sized hose clamp from your kit.
Refilling and Bleeding the Coolant System
Once the new hose is in place, it’s time to refill the coolant. I recommend using Pentofrost NF coolant. It’s a great choice for BMWs, as it’s specially formulated for their cooling systems. Mix it with distilled water to ensure the best results. Regular water can lead to corrosion in the system, so always opt for distilled.
To refill, follow these steps:
- Pour the mixed coolant into the reservoir until it reaches the full line.
- Start the engine and let it run for a few minutes with the heater set to maximum to allow coolant to circulate.
- Keep an eye on the reservoir and add more coolant as necessary to maintain the level.
- After a few minutes, turn off the engine and let it cool down. Check for leaks around the new hose.
Final Checks and Maintenance
After completing the repair, it’s crucial to monitor the system closely for a while. Keep an eye on coolant levels and check for any signs of leaks. Regular maintenance can help prevent future issues, so make it a habit to inspect your cooling system periodically.
Remember, if you’re ever in doubt or uncomfortable performing these repairs, don’t hesitate to reach out to a professional mechanic in your area. They can provide the expertise you need to keep your BMW running smoothly.
If you enjoyed this post, consider subscribing to me on YouTube, Instagram, or TikTok! I post BMW content regularly and enjoy interacting with all of my followers 😁