N54 Spark Plug Replacement & Gap Guide for BMW 135i, 335i, 535i (DIY)
As you begin to modify or maintain your BMW 135i, 335i or 535i, you must address the ignition system. Spark plugs and ignition coils are the achilles heel of the N54. These two parts are common sources of misfires if not taken care of. Not only is it important to replace them with upgraded pieces, but it’s crucial to install the spark plugs with the correct gap.
My 2009 BMW 335i was due for more maintenance after last week’s walnut blast. This time it’s getting some fresh spark plugs and high-performance ignition coils!
What parts do I need?
If you are modifying your BMW N54, there are two things you need to get your ignition system in tip-top shape.
- Complete Spark Plug Kit
- High Performance Ignition Coils
- (Or get a package deal on both if needed)
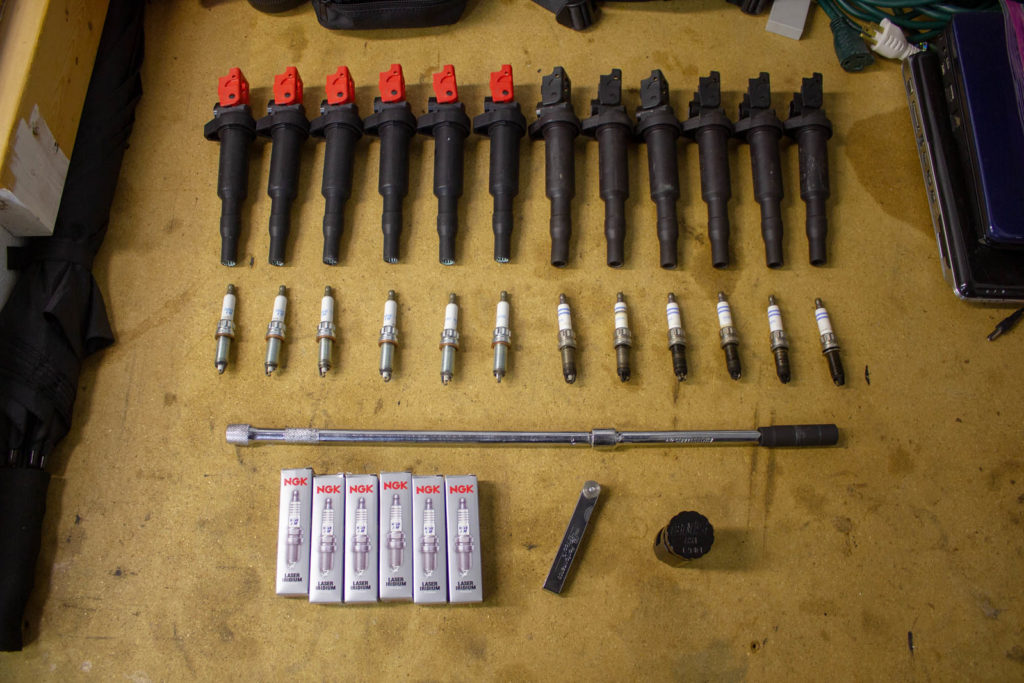
The complete spark plug kit from Burger Motorsports includes 2-step colder NGK spark plugs, a spark plug removal socket, a spark plug gapping tool and a feeler gauge. The high performance ignition coils from ECS Tuning provide improved spark from an OEM-style ignition coil.
The high performance ignition coils are a plug-n-play upgrade that requires no wiring or coding. They also come with dielectric grease pre-installed inside the tips. This helps keep the spark plug insulated so the spark arc doesn’t jump across the plug.
What tools do I need?
The specialty tools required for this job are included in the complete spark plug kit above. In addition to that kit, you’ll need a few common tools. If you’ve ever worked on a car before, you probably already have them.
- Electric Bit Driver
- Bit Set (8mm & 5mm allen)
- 3/8″ Rachet, 3/8″ Extensions and 3/8″ Torque Wrench
Spark Plug Removal
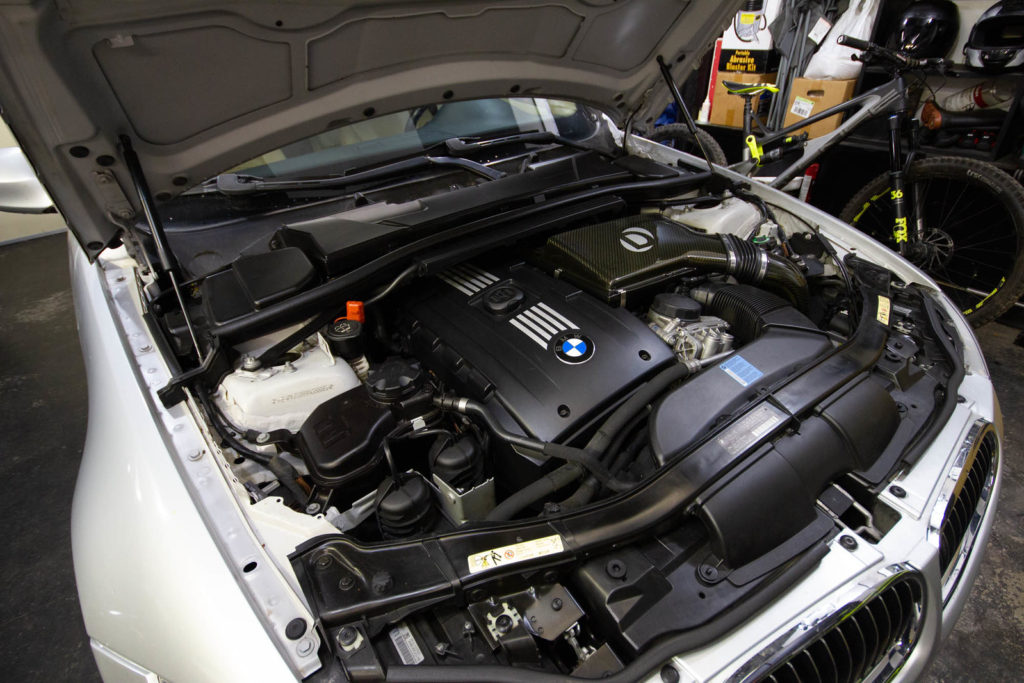
The first step to change your spark plugs is to remove the cowl. This is the black piece that goes along the firewall and windshield area. The cowl filter element is held on by four 8mm bolts, two for each filter. Remove these and set the cowl filter housing aside.
After removing the filter housing, remove the plastic snap-on covers on each side of the car. Underneath, you will find an 8mm bolt on each side holding the cowl itself down. Remove these and undo the rubber latches, then pull the cowl off and set it aside.
The engine beauty cover must be removed to access the spark plugs. You will find three or four 5mm allen bolts holding it on, two in the front and two(?) in the back. Loosen these and carefully remove the cover. Now you will have access to the ignition coils.
To remove the ignition coils, pull up on the clip latch. This will remove the power connector, then you can pull up on the assembly to remove it from the hole. Watch my DIY video at the top of this page for tips on this process.
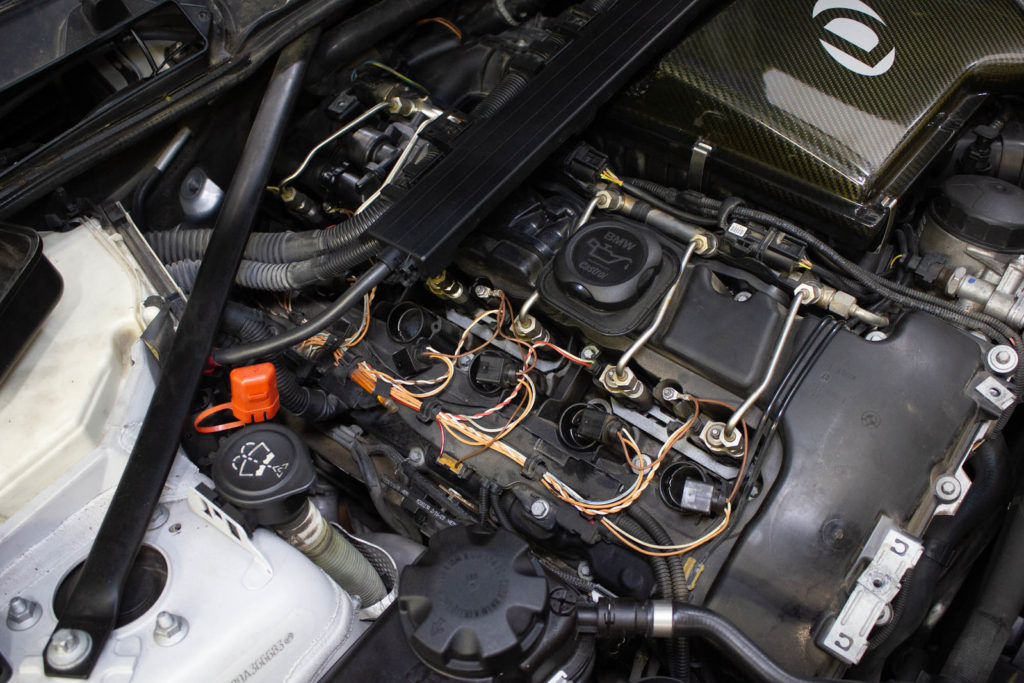
With the ignition coils removed, it’s time to remove the spark plugs. Grab your BMS magnetic spark plug socket and 3/8″ ratchet and extensions. Attach the socket to the spark plug and loosen it until it comes out.
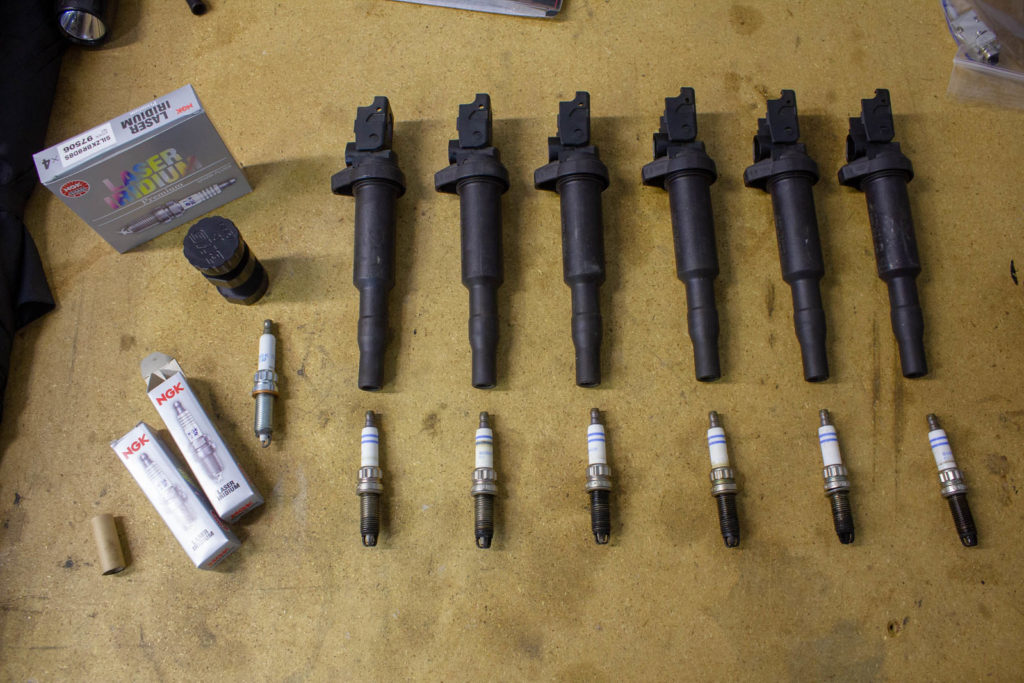
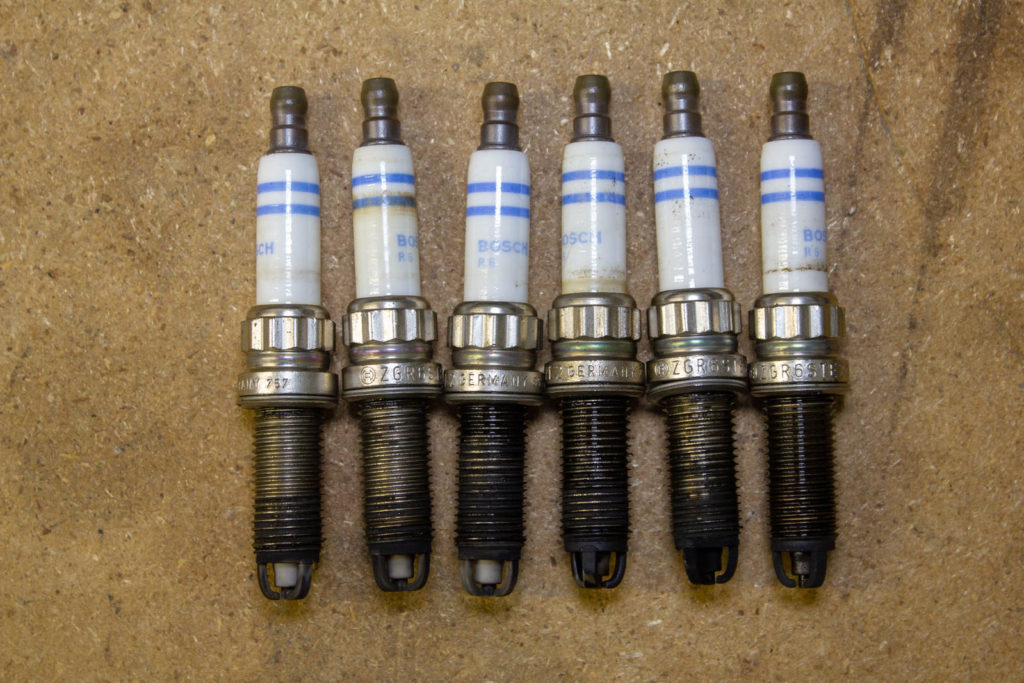
With all the spark plugs removed, you’ll want to inspect them. If they are wet with fuel or oil, you have a fuel injector problem or oil leak. You might find some are lighter, darker or dirtier than others. A simple Google search will help you dissect your spark plug condition.
How To Properly Gap Spark Plugs
Once the old plugs are out, it’s time to get the new ones ready! You’ll notice my old plugs have 3-prong electrodes. The OEM-style plug is not able to be gapped. You must get the NGK gappable performance plugs as shown below. They have a single electrode prong that can be adjusted.
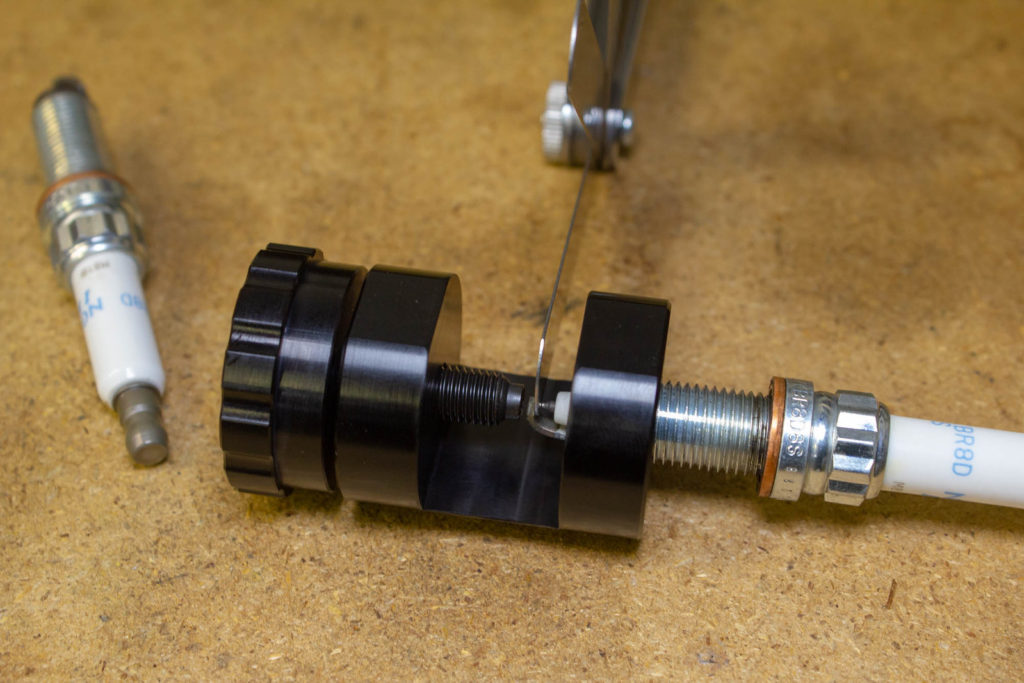
Now it’s time to bust out the handy-dandy BMS spark plug gapper tool! This is the most accurate gapping tool available. The circular spark plug gapping tools suck. They leave a lot of margin for error and have poor adjusting mechanisms.

To adjust the gap, thread the spark plug into the gapper tool and measure the existing gap with a feeler gauge. In this case, I wanted to set the gap to 0.020″, so I tightened the knob until the 0.020″ blade fit perfectly in between the gap. For best results, I’d recommend gapping the plugs between 0.018″ and 0.022″.
After accurately gapping all six spark plugs, it’s time to install them. Gather your new parts and install the spark plugs first. Again, use the spark plug socket to drop them down into the cylinder hole and hand tighten them one-by-one. Once they are all hand-tight, torque them to 17 ft/lbs.
Insert the new ignition coils one-by-one, making sure each is fully seated. Connect the plugs and lock them in. It’s a good idea to start the car for a minute before completely reassembling everything to make sure it runs smoothly. If so, proceed to finish the job. Secure the engine beauty cover and reinstall the cowl pieces.
Real-Life Performance Gains
I’m a sucker for measuring results after installing mods or doing maintenance. That’s where the Dragy comes in! With this little device, I’m able to record before-and-after runs. It’s addicting and I encourage everyone who enjoys cars to try it out!

I did a 0-60mph run before installing the spark plugs & ignition coils. The best result I could achieve was 5.71 seconds. After installing the upgraded parts, I went out for another run and was able to knock it down to 5.53 seconds!
In the future, I’ll try to measure the 60-130mph time to remove the launch from the equation.
I hope you enjoyed this article! Be sure to check out my other DIY guides. Reply below with any comments, questions or concerns. I would love to hear from other BMW enthusiasts!
This page contains affiliate links. If you purchase anything using the links above, I will earn a small commission at no extra cost to you. Win-win!
Very timely article. I was just going to order the special socket and was finding mixed reviews. Thanks again for cutting through the nonsense and delivering an efficient procedure!
(Before reading I said to myself, “Whatever this guy is doing, I’m doing.”)
Awesome – I’m glad to help! If you have any other questions, let me know!
Won’t a piece of 3/8” fuel line hose (or similar size), work in place of a magnetic socket to guide the plugs down in the spark plug hole and start threading them in? I’ve used this trick for years on overhead cam engines.
Yes, I’m sure that would work. But I like the magnetic socket because it works great for installation AND removal, not just removal!
Great info thank you for your efforts to help those looking at investing in these nice cars
No problem, I enjoy putting this type of content out there!